Table of Contents
How To Read A Tape Measure- Something You Should Learn Today
It does not matter you pursue craftsmanship or construction work, everyone should know how to read a tape measure because it’s highly useful and we often come across activities in our daily lives where we need measurements. Taking the most accurate measurements can cause the difference between some brilliant architectural pieces and subpar ones.
Fortunately, learning how to read a tape measure and taking some right approaches can be a quick way to recognize the measurements. Knowing how to read a tape measure and how to take tape measures using traditional ribbons can be no less than an asset for people often needing to take measurements by hand.
This guide is all you need on how to read a tape measure, follow precisely for a quick session.
How To Read A Tape Measure
There are two ways discussed below for learning how to read a tape measure, you may follow any of these. These include:
1. How To Read A Tape Measure Using Inch Line

This method includes imperial units for reading the tape. You need to learn how to read a tape measure by looking at the inch line. Let’s see different steps that may enable you to learn quickly.
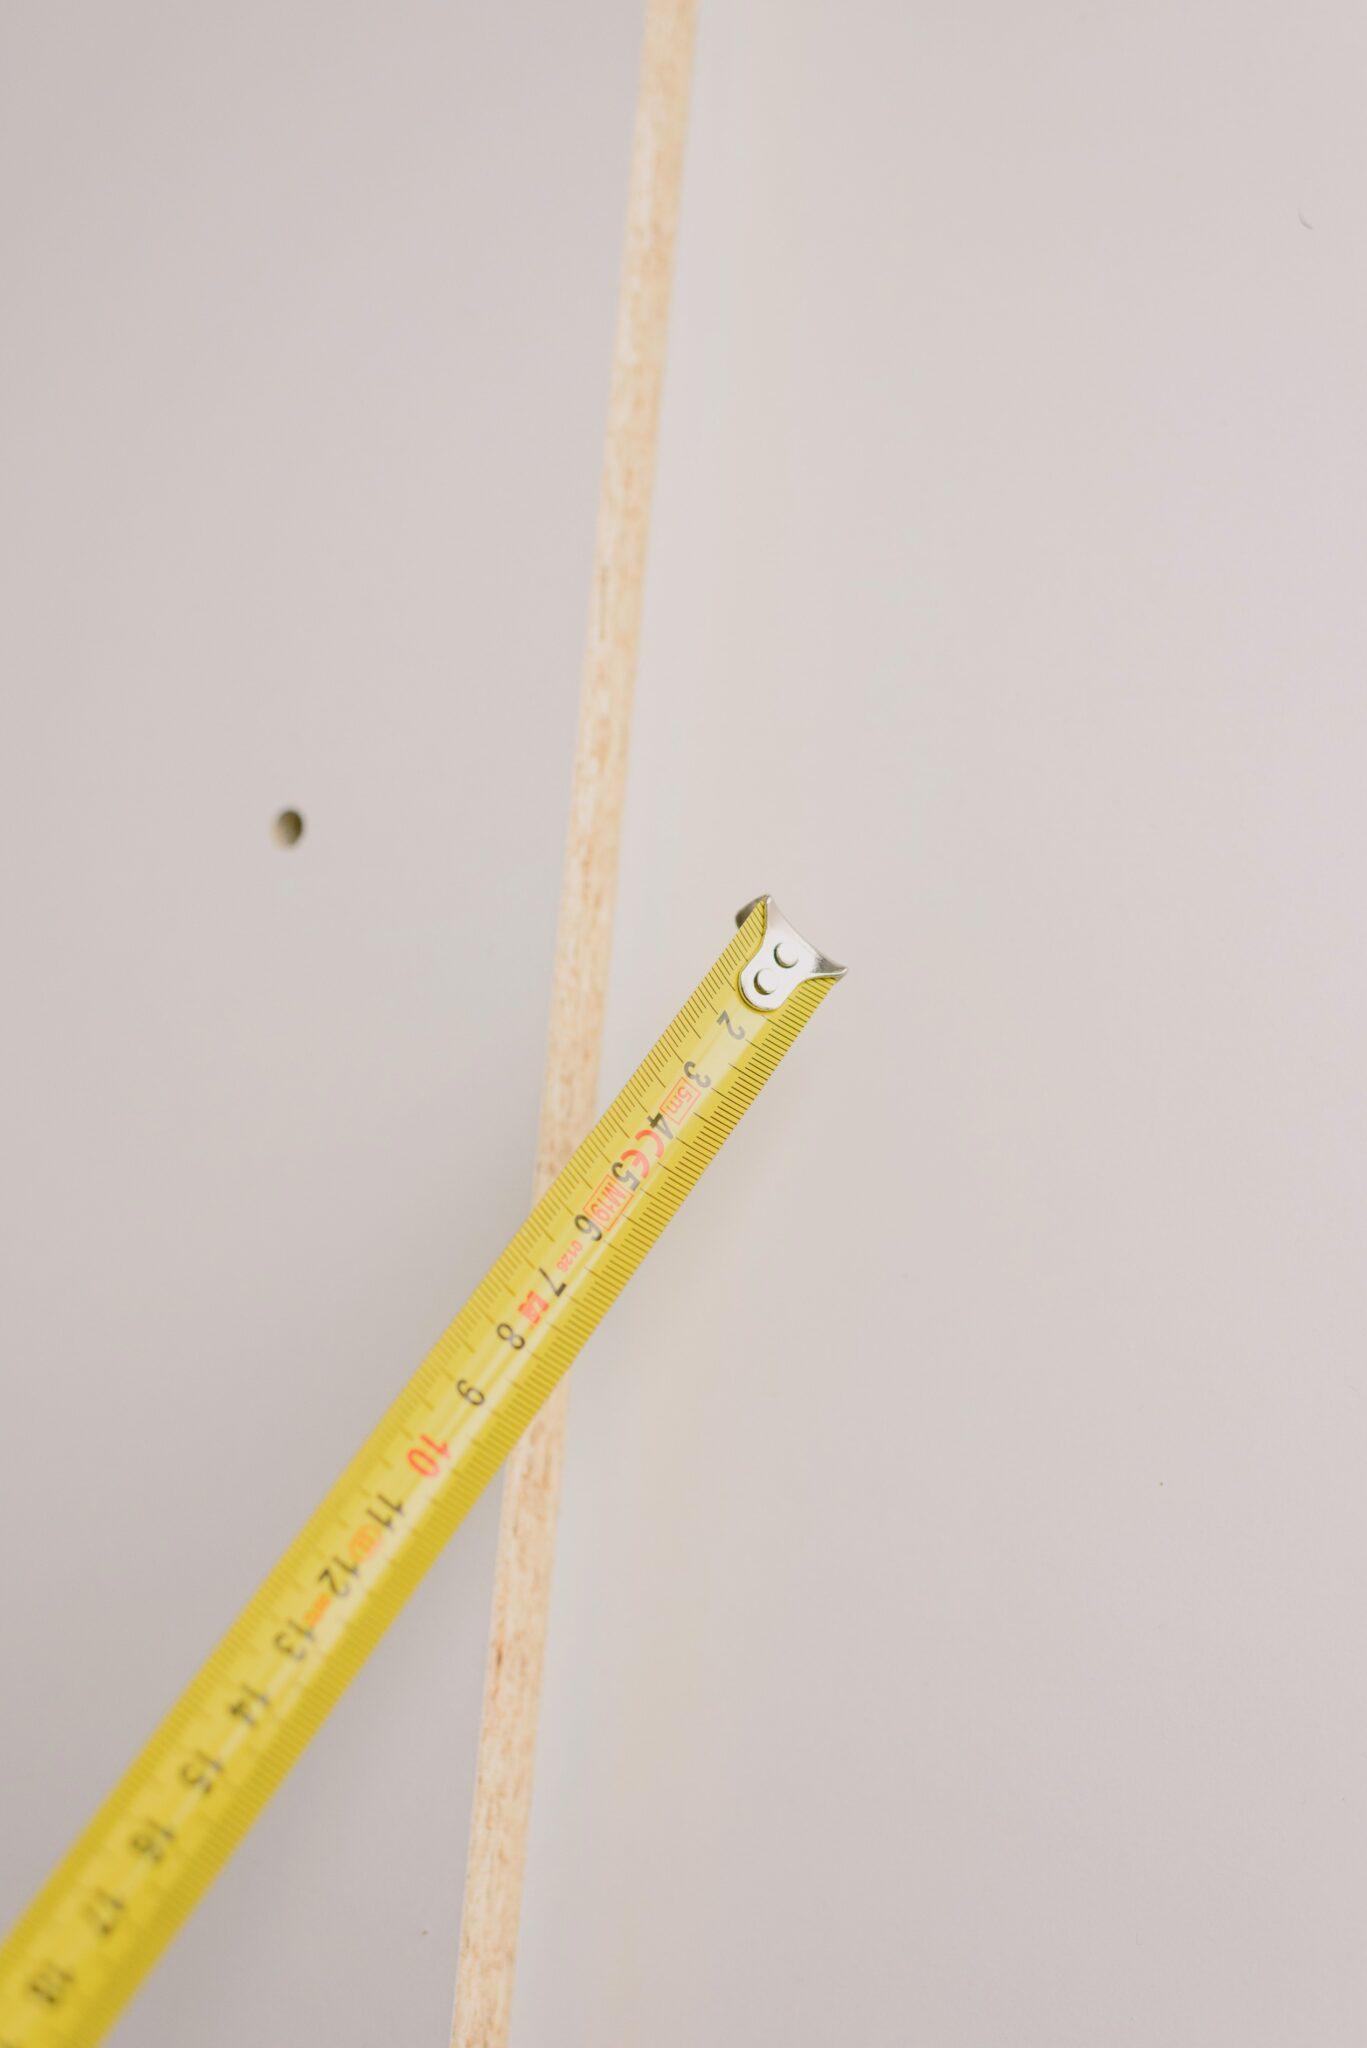
Step One: You need to use the big numbered markings present on the tape for reading inches. On the tape measure that has labeling of imperial units, the most prominent marks to be seen on the tape are of one-inch distance. These marks are indicated using long and thin lines and the numbers written below them are also fairly large as compared to the lines between them.
After every 12 inches on the tape measure, often a marking is giving which indicates the foot mark (not always given). This line indicating the foot is mostly shown using a different color than other markings showing inches. You can expect the color of the inches to be black and the foot to be red. After the foot marking ends, the same numbers start to repeat again from 1 to 11, and then a foot mark appears. However, this may vary according to the measuring tape.
Step Two: You have to use the bigger marks located between 2-inch markings for finding half-inches. You will find this half-inch mark always kept or centered between any 2-inch marks on the scale. After the 1 inch marking, this one has the second-longest length. Also, there will be one half0inch mark in between each one-inch mark, but per inch two half-inches are located.
While you start with half inches, all the lines that are located mid-way will not be indicated using certain numbers. In such cases, you have to use the markings on either side as they will guide you in figuring out the value. For instance, the half-inch mark present between inches 3 and 4 indicated 3 and a half inches even though it will not be mentioned anywhere, it’s simple maths you need to understand.
Step Three- For finding out the quarter inches, you need to use the smaller lines present between half inches. After finishing with understanding half-inches, it’s time to know about the location of quarter inches on the measuring tape. These markings indicating quarter inches are even smaller and sometimes skinnier too as compared to the previous one we saw. But these are still bigger than the densely packed small lines. A trick to locating these lines is that they are evenly located between one-half-inch and one one-inch line.
Also, you have to note that lines indicating quarter on an inch are not always different in size from the eight-inch marks present in between. In such cases, you have to keep in mind that two-eighths of one inch will make a quarter. Keep counting to the second eight-inch marking after you start from one-inch marking to find out. This line will indicate quarter inches.
Step Four- It’s time to see how to locate and find out about one-eighth inches. The smallest markings located between the quarter-inch markings and half inches markings are the one-eight markings. These are one-eighth inches per inch in the measuring tape. The smaller and skinnier lines than the quater lines you will see on the number line. The numbers are not indicated in front of them as well, you can just figure them out looking at their position from half-inch or quarter-inch lines.
Step Five- The tiniest lines that represent sixteenth of an inch on the measuring tape. These are the shortest lines and represent the sixteenth-inch marks on a number line. On the measuring tape, you can see 15 of these tiny inches present between each 1-inch mark or 4 in each quarter in between.
Know that there are very precise measuring tapes in the market which lowers the measuring and makes a division of 30 instead of 16 between the lines or even 60 sometimes. You can use the same way to recognize them as depending upon the size of measuring tapes, these divisions may reach up to hundreds.
Step Sixth- You may add the line segments for finding out the entire length you need to locate. While you want to measure a length on the measuring tape, getting the accurate value of your measurements means you should know how to read a tape measure which you have learned using the steps given above.
First, you have to mark the spot from where the measuring tape is lining up with the edge on the material or thing you wish to measure. Look for the nearest inch before this point and then find the closest half-inch before this point. Then the closest quarter inch present and so on.
Now, once you have located all the things, add them up. Ad these inches and fractions of all the inches until the accurate measurement is seen. Once you are able to calculate ones, this process seems a lot easier than it sounds after reading. Let’s consider an example to set things straight and clear to the point. Try marking 1 3/8 inches on the measuring tape, you will be able to do it easily, start with looking for lines present between the 1-inch mark and 2-inch mark and keep going until you locate this number.
This was the easiest way and guide to learn how to read a tape measure for locating inches. The measuring tapes usually have two sides, one side has all the measurements in inches just like a scale while the other side has measurements in centimeters, once you know how to read a tape measure in inches, it’s time to see how to read a tape measure o the centimeters side.
2. How To Read A Tape Measure In Centimeters (Retractable Tape)

If you have retractable tape, you can use this method to calculate the measurements of an object. Let’s see the steps involved in this method.
Step One- Retractable tape usually have a hook end at one end with which you can measure any object easily. If you are measuring the object using a retractable tape measure that usually comes in a plastic box note that in one end they usually have a plastic notch for holding the tape and object to be measured. You have to start catching the edge if you want to measure something with such tapes.
On the other hand, if you have to measure something that cannot be latched on to like the distance across a large door frame, you can simply press the metal notch into one side of that object.
There are few measuring tapes in which the end keeps moving, pull it out if you have to measure through the edge and push it again inside if you need to push the measuring tape against any surface.
Step Two- Stretching the tape against the object that needs to be measured. Keep the zero mark in one place and then pull back on the box so that more and more tape keeps coming out until you measure. You can ask a friend to help you or use one hand to hold the tape’s end in places you need to pull it back. Let the tape come out until it stretches to reach the point that needs to be measured. As you do this, try to keep your tape straight as if you let it sag, the results might not be as accurate as you want.
Usually, it is easy to keep the tape straight when you are measuring large distances, but if you have small distances, then it’s good that you keep a check.
Step Three- Take The Reading From Tape. Now, you have to take a closer look at the point where the tape coincides with the endpoint of an object that needs to be measured. The nearest number you see below or above the end you have measured is the distance you need. This distance might have few cms of the gap that you need to count along with it.
The fraction units along with while numbers together indicate the length or width of the distance you have covered. Do not forget to mention the fractions where it ends as otherwise, you will not have the exact measurement you were requiring. While measuring a tight corner in the room or any object, you can use a kink in the tape. Then you may line up the kink with the edge of the object you wish to measure. This method is really handy for corners, try it out.
Step Four- You have to use the lock switch for keeping the tape at the same length it was. Mostly you will find that all retractable tapes have a sliding switch or button. When you press this button, it will prevent the tape from going back inside all of a sudden. Some tapes have the tendency and ability to lock automatically as they are designed in such a manner.
You may use this button to compare the sizes of objects having two different lengths. This lock is highly useful for many things like:
- Quickly figuring out which object is larger in size if they appear the same without measuring.
- Finding out whether an object will easily fit in a given space or not.
- Keeping the tape presentable for taking quick measurements multiple times.
- Keeping some distance to avoid having to measure everything again.
How To Read A Tape Measure In Cm’s Using Manual Tape

If you do not have retractable tape and you need to measure something in cm’s you can use manual tape too. Read the instructions given below to learn how to read a tape measure using manual tape.
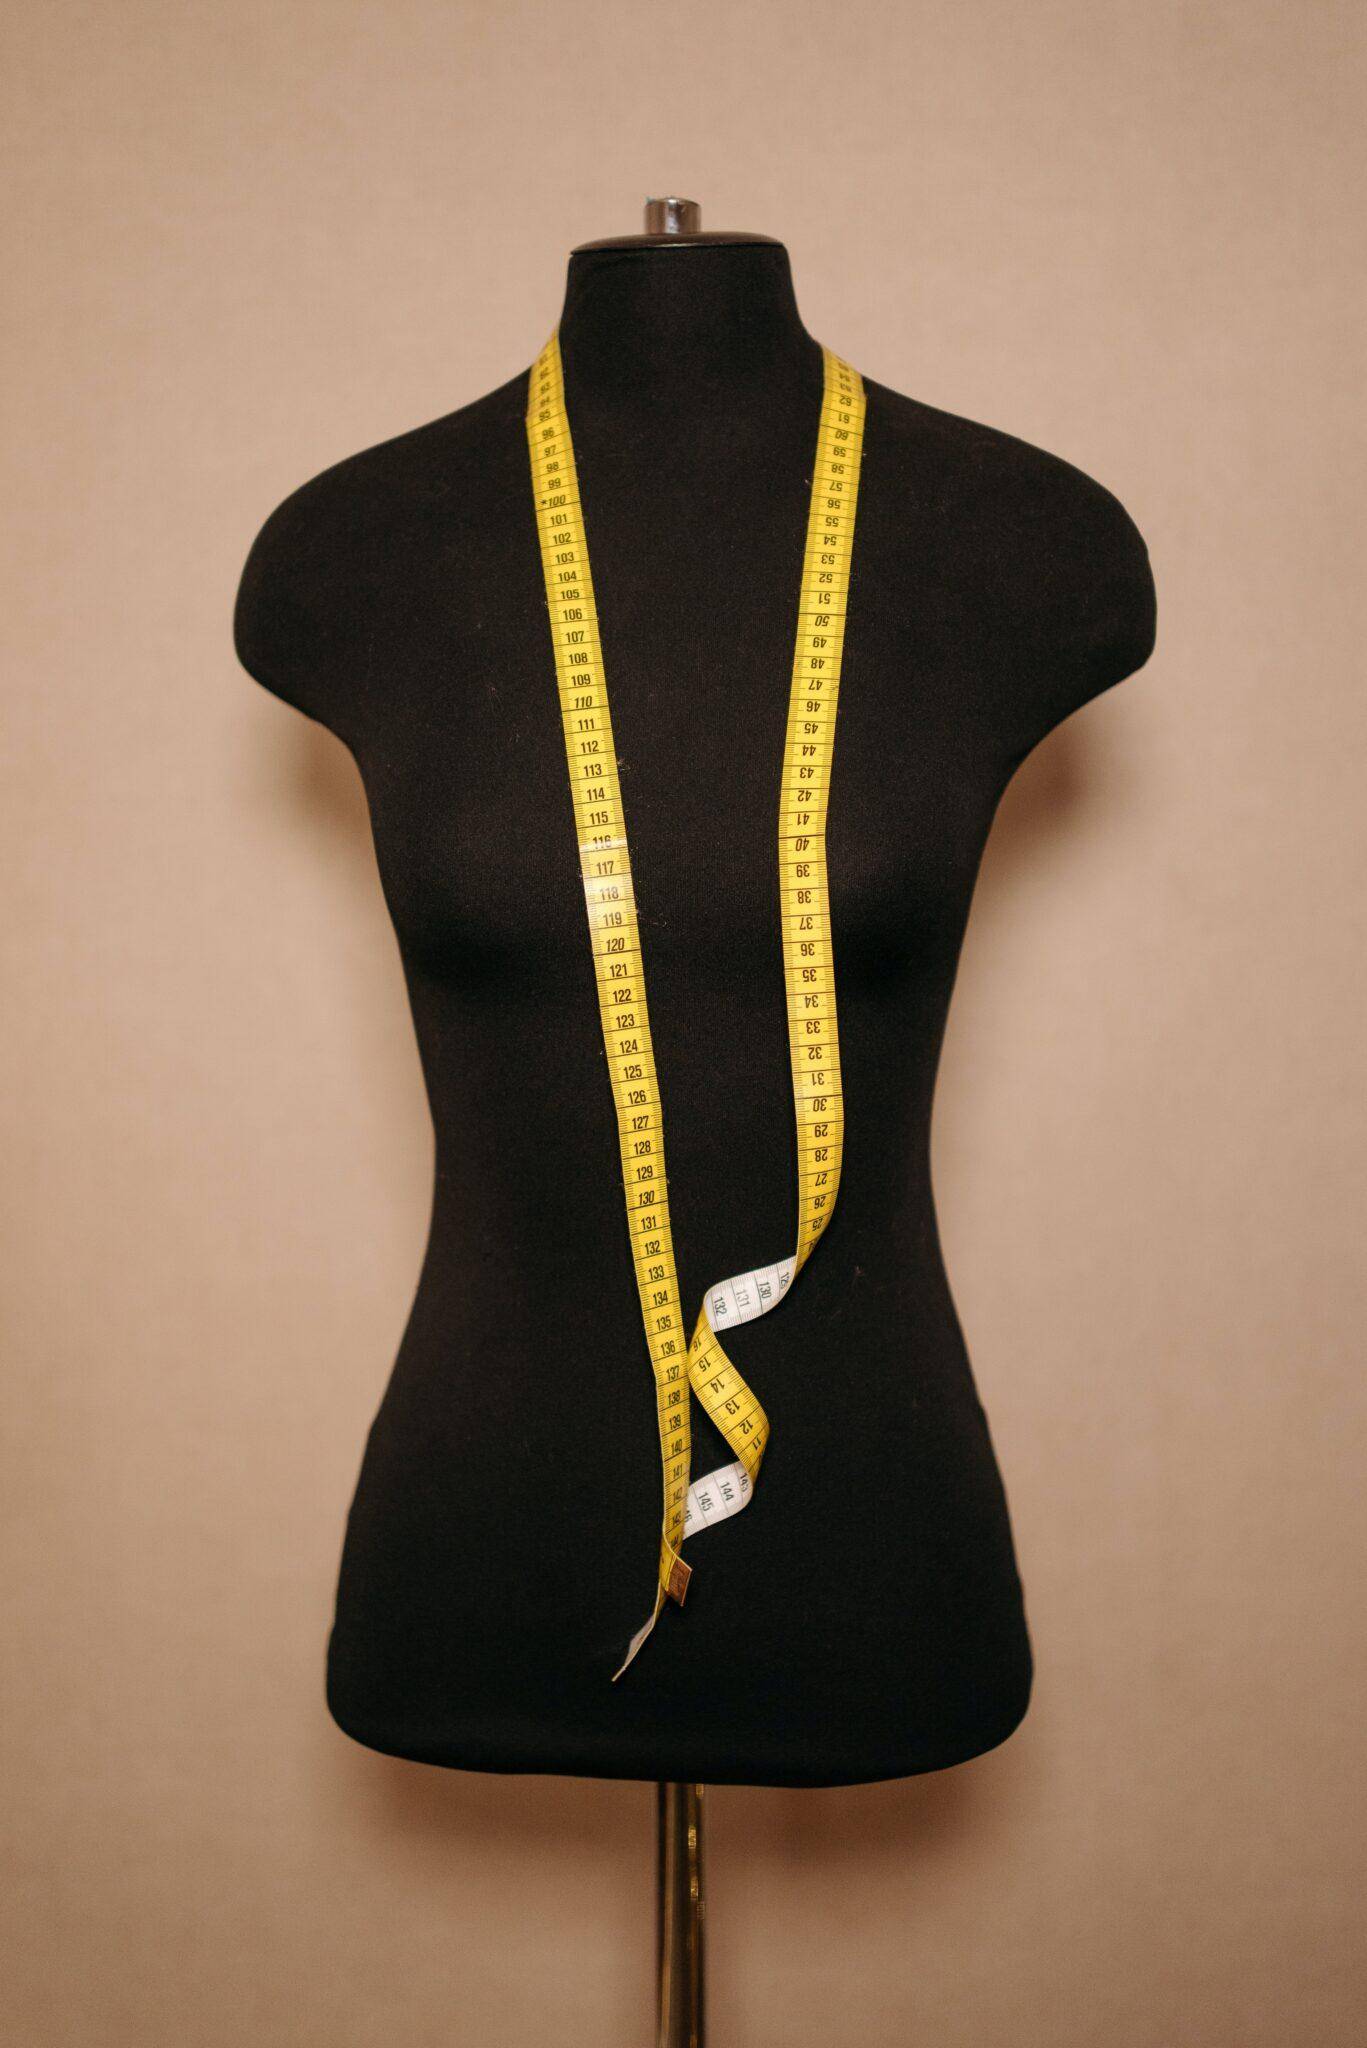
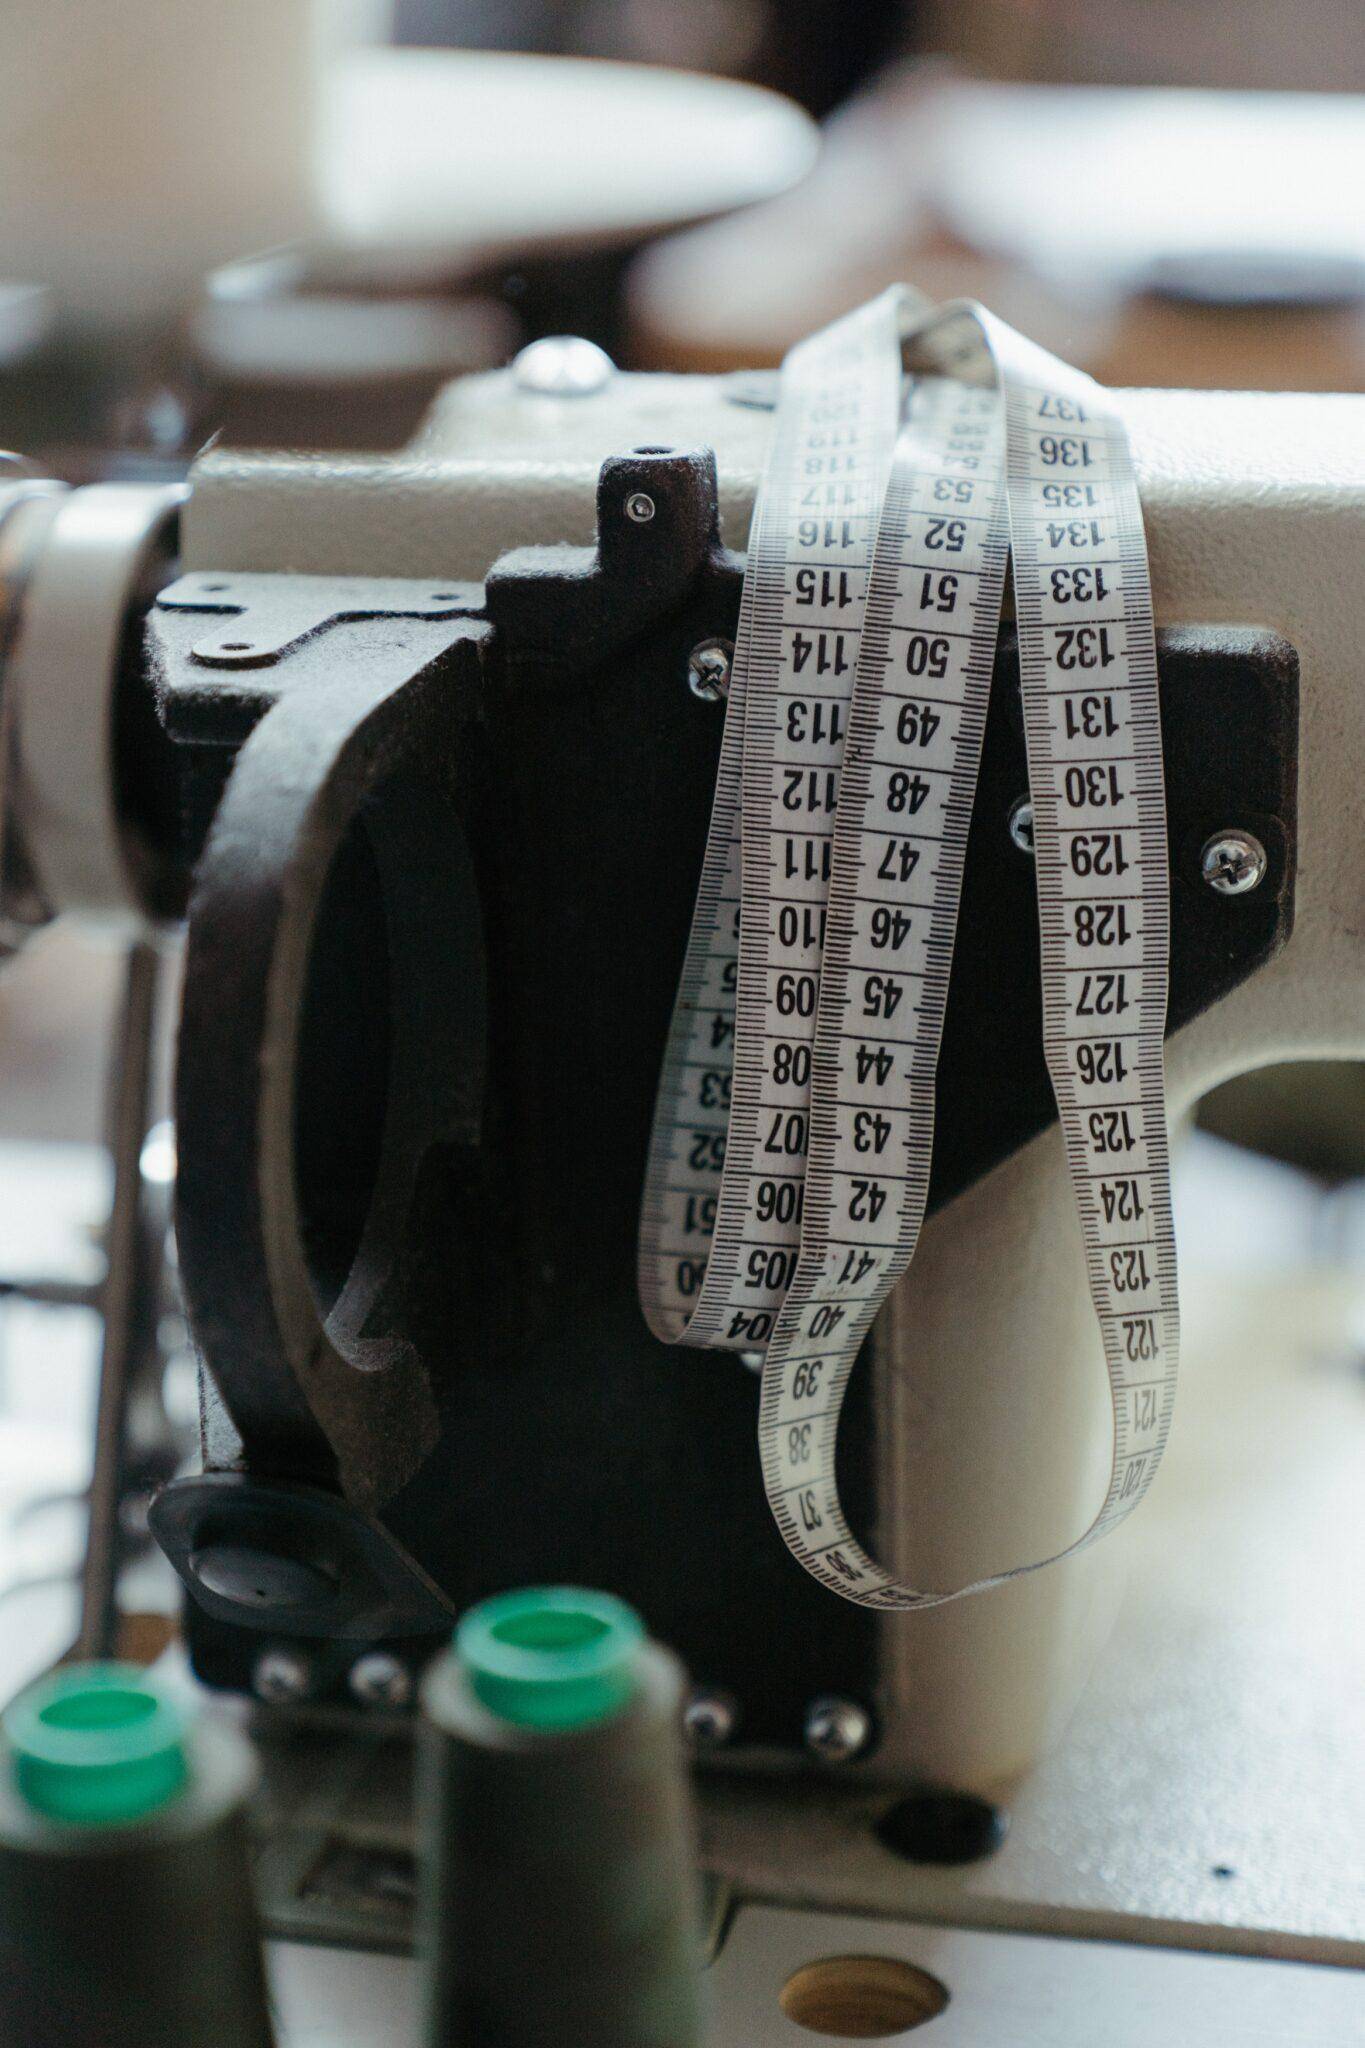
step one- Unroll the tape and hold one end of the manual tape down where the distance starts. Manual tapes are usually long, skinny ribbon-like tapes made out of foldable and flexible material. They do lack some of the convenient features present inside a relatable tape like a plastic button at the end and a hook. To start with your measurements, you have to hold the zero end to line it up with the beginning of an object or length that needs to be measured.
The main issue related to using manual tape is that this is highly useful only while measuring small distances because then you can easily hold one end using your hands. If you wish to measure a larger distance you cannot hold it and move forward. If you try to leave the tape in between, then the measurements will not work as fine and accurately as they should.
We have solutions to resolve this problem as well, you can either ask your friend or anyone to hold the tape at the starting or zero points or if you do not have someone near to you right now, just hold a heavy object and place it over the zero ends, in this way you will be able to take accurate measurements.
Do whatever works for you, another trick is using your hand to measure an accurate distance and then marking the distance measured with a marker. Take this marked distance as the reference or starting point for calculating another distance and then you will get the entire length by adding all the measurements taken.
Step Two- This step involves stretching the manual tape across the distance to be measured. You have to take the slack of the object and place it in a straight line across the distance you want to measure. Just make sure that the tape is straight and stretched to avoid any errors in measurement you have taken. Do not stretch it too hard as many tapes we use in modern days are built of semi-flexible material due to which you may end up breaking it.
Step Three– Note down the reading directly looking at the tape. Just the same you did use the retractable tape measure, look for the place on the tape measure where the object’s length had ended. This distance indicated is the distance you needed to find out on tape measure.
For example, let’s consider you need to measure the size of a ball in cms. In the case of a ball, you need to measure the diameter. Hold the tape at any point on the tape using your fingers and then roll it back to the other side and bring it back to the starting or original point. Note this reading that shows on the tape.

In this way, you can easily make out how to read a tape measure using inches tape, retractable tape, or any manual tape you own easily. Follow the guide and learn quickly.
If you are working on jeans that needed to be made or interest in thrifting, follow this guide and learn quickly how to measure the inseam of your jeans for the perfect fit.


[…] are confused about how to read a tape. Here’s the only guide you require to read the […]