Table of Contents
How To Grow Microgreens At Home using These Easy Steps- Learn Everything
If you wish to know how to grow microgreens at home using simple procedures first you need to know a lot of things related to what they are.
For those who haven’t heard much about what are microgreens, you are in for a delight! Microgreens are basically little greens that are very micro varieties of completely matured plants.
There are tons of varieties of different veggies, whose microgreen variants provide great nutritious value and amazing flavors to all your favorite smoothies and salads. The fast-growing turnaround time for the various harvests to reach your kitchen makes it important for you to know how to grow microgreens at home.
You do not require spacious gardens or a lot of time to learn how to grow microgreens at home. You can easily grow them throughout the year irrespective of climatic conditions. We cannot exactly emphasize the importance of growing microgreens at home because they are free of any pesticides and high in nutritious value. Looking at the current trend of food grown all across the globe, having microgreens at home is truly a blessing for our health.
Microgreens have gained immense popularity as a superfood, due to which many people have come across its excellent impacts on health and have started growing microgreens at home. You do not have to put a lot of pressure on your minds to learn how to grow microgreens at home because you will be surprised to know how easy it is!
Let me take you through a quick guide on how to grow microgreens at home and what are exactly the benefits of these little greens.
What Are Microgreens?

These little greens are the very first true leaves that are produced from a simple seedling of any herbs or vegetables having a size of 2-3 inches tall. You will find tons of varieties of plants like turnips, broccoli, radishes, cauliflower, carrots, lettuce, spinach, chard, celery, arugula, amaranth, parsley, cabbages, and basil. These are just a few names out of all the vegetables that can be grown into microgreens at home easily.
These are wholesome in nutritional value which makes them a great addition to your daily meals. You can expect the tiny leaves of microgreens to get fully ready for harvest purpose in 12 days or 14 days. These are highly packed with amazing nutrition and intense flavors that truly imitate the taste of their mature plants.
For instance, if you have grown microgreens for shoots of radish and you are eating them regularly, you will find that their flavor and taste will be very close to a mature radish we usually get from supermarkets. Similarly, the microgreens of beetroot taste very similar to a mature beetroot.
Why should you learn how to grow microgreens at home instead of growing mature veggies or buying them? this question is very common and I am pretty sure you all are wondering why to grow them, you should simply grow microgreens at home because they have higher levels of carotenoids and are rich in vitamins. Usually, their nutritious value is 5 times more than that of their mature counterparts, which makes it very important and highly recommendable to grow them.
The soaring levels of nutrients and carotenoids these plants have helped highly in lowering all the risks of diseases like osteoporosis, cancer, Alzheimer’s, and boosts the overall health of a person.
You might be wondering where did the culture of growing microgreens at home begin? We will tell you everything, do not worry. Microgreens were spotted making their appearance in the early 80s as a garnish for a variety of food items, but later on, due to their health benefits, they became highly popular. Some people also call them nutritional superpowers. Fine dining restaurants at various places in cities often use microgreens to garnish their food items like appetizers, salads, desserts, sandwiches, mocktails, etc.
If you are struggling with problems related to space and time one has to invest in gardening, learning how to grow microgreens at home is especially for you. Let me give you some quick reasons why you should start today itself on growing microgreens at your home.
Why Learn How To Grow Microgreens At Home?

1. Easy To Grow
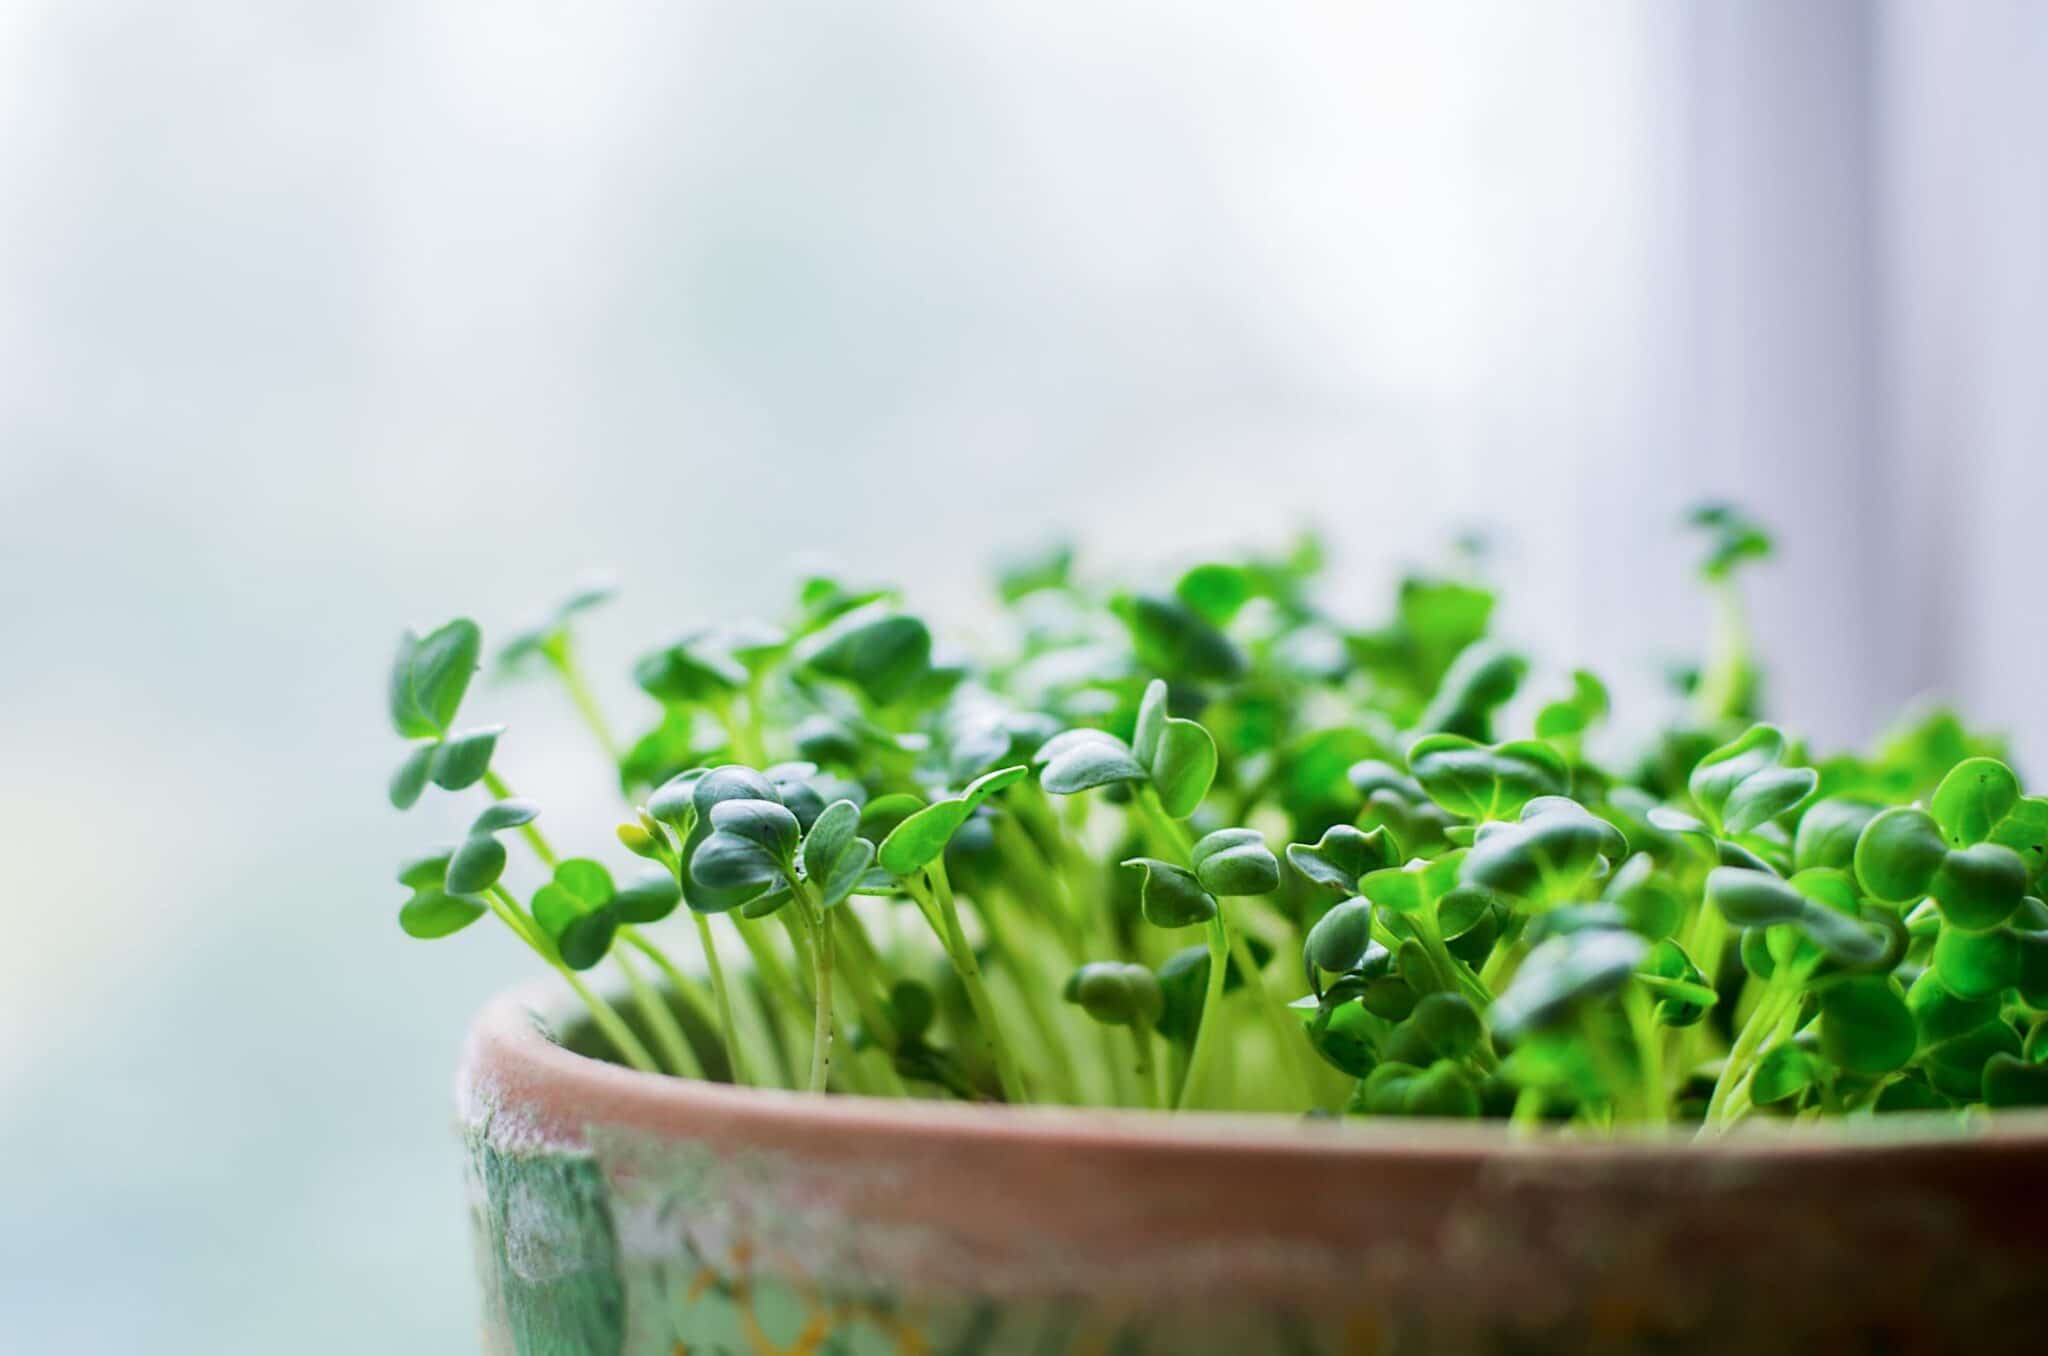
As mentioned earlier, it is very easy to learn how to grow microgreens at home and you can easily grow them since we know they are harvested at the very first stage which is a true leaf stage. You can grow these without many efforts even on a sunny windowsill.
2. Quicky To Harvest
You only require to have the patience of 2 weeks or less than that to consume your healthy and nutritious microgreens at home. What else do we require when we have microgreens ready in few days?
3. Packed With Tasty Flavours
Although microgreens are very tiny, they are highly concentrated with different flavors which makes them the favorite garnishing agent and food for many chefs all over the world and people who admired taste over everything.
4. Loaded With Healthy Nutrition
According to various studies performed by the University Of Maryland, they have determined that microgreens have a very high concentration of healthy nutrients as compared to mature counterparts. There are few microgreens that have unbelievable nutrition value. Their nutritional content is nearly 40 times more than that of normal vegetables.
5. Other Reasons
- This makes a great introduction to growing seeds and gardening for beginners.
- There are no particular climatic restrictions to grow microgreens at home due to the indoor environment.
- This makes an incredibly healthy choice for the growth of food.
Let’s see what are the things you can try and learn to grow as microgreens for better results.
What To grow As Microgreens?

Before proceeding to how to grow microgreens at home, it is highly important for you to understand what are different things that have microgreen counterparts to be grown at home.
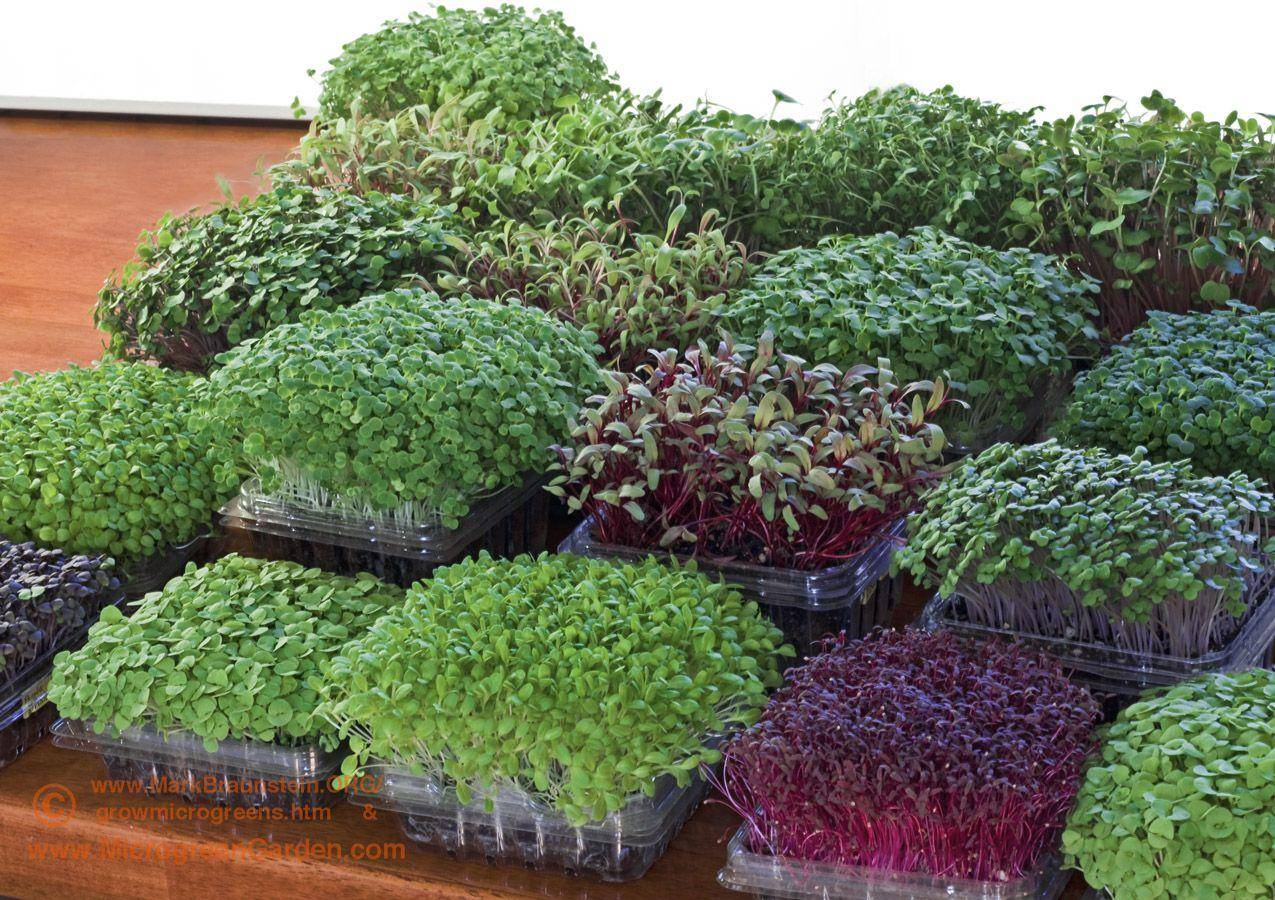
You will be surprised to know that there are many variants of plants that you can use to grow microgreens. Some commonly grown microgreens in houses include green salads, edible flowers, herbs, leafy vegetables, greens, root vegetables, etc.
If you are thinking what are the types that we can grow easily within a smaller span of time, then it is important to know that the easiest type of microgreens to grow usually have larger seeds whereas the microgreens having smaller seeds are quite trickier.
Let’s see which are larger microgreen seeds and which are the smaller ones.
Large Microgreen Seeds
Large varieties of microgreens tend to grow much easier but you will witness a lower plant density due to their larger seeds. The plants are also certainly larger. These larger seeds usually produce stouter microgreen yields. Most of the seeds are able to complete a presoak before they are sowed. Some examples are chickpea, chard, barley, cilantro, beets, fennel, kale, peas, wheatgrass, sunflower, etc.
Medium Microgreen Seeds
These varieties of microgreens are also simple to be grown at home. Many of these usually have great benefits from presoak. Unless accurately specified, it is not important to presoak them. The plant density these have will be higher as compared to larger microgreens. Examples of medium microgreen seeds include broccoli, basil, flax, fenugreek, leek, lettuce, radish, chia, sesame, turnip, etc.
Small Microgreen Seeds
These are very tiny because many of these microgreens are usually from herbs. These are a bit more challenging to grow because it becomes difficult to sow them evenly in the entire planting medium.
But it is highly important to know that they will format very dense plant and packed with great flavors except for alfalfa. Some examples you can try to sow are amaranth, lemon balm, sage, thyme, mint, oregano, celery, etc.
Let’s see how to grow microgreens at home easily.
How To Grow Microgreens At Home easily
There are few important components that are important to have once you have decided to learn how to grow microgreens at home. These materials are growing trays, growing mediums, and grow lights. Let’s see the importance and extended explanation of each item needed for you to learn how to grow microgreens at home.
Supplies Needed To Learn How To Grow Microgreens At Home
Growing Trays
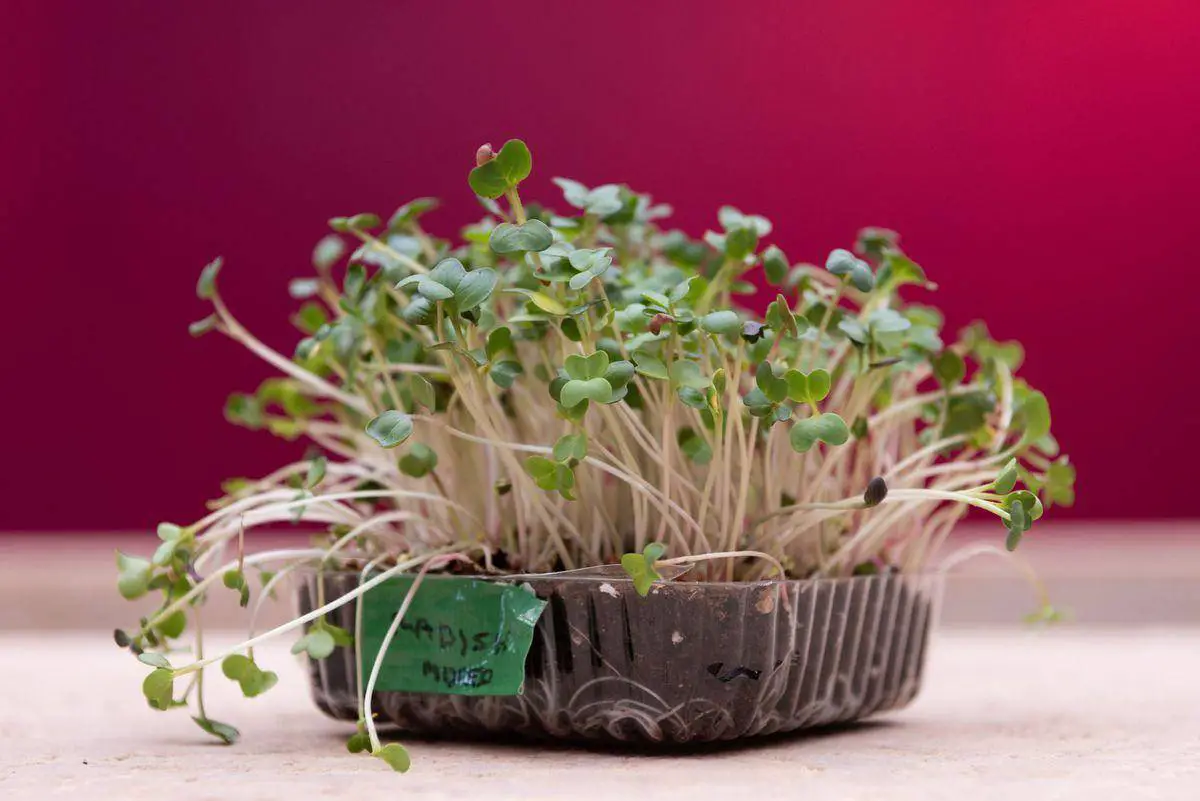
There is no rule in what materials to chose to grow microgreens faster, however, if you are a beginner using a microgreen tray is probably the best option for you. Do not look for different brands and waste a lot of time, any brand works fine. There are some trays that are specially designed for growing microgreens with the presence of clear lids that are required to retain moisture content. If you wish to grow microgreens for the long term, we suggest you use study plastic trays having certain drainage holes. Having a tray that is an inch deep is enough to grow them.
Growing Medium
While learning how to grow microgreens at home, one of the most important yet difficult steps is to decide what kind of material one has to use to grow them nicely. You will find some suggestions like using potting soil or using soilless mediums including coconut coir. It is your wish which one is accessible and easy for you.
If you have decided to use soil for growth, you may use fox soil for growth. you will easily get this at any local gardener. You can choose what works out best for your microgreens by experimenting. You can also make any customized potting medium at your house for amazing results. Learning how to grow microgreens at home using a potting medium that suits you is a good deal, to begin with.
Organic Seeds
Using organic seeds that are certified is amazing to be used as a potting medium. Also, certified organic seeds are the safest yet best option to consider. Try to buy these seeds in bulk so that they can help you well and the cost will also be less. But it is even better if you bring some varieties to your house for testing purposes and see which variety grows best in your medium. Once you have found out, you can purchase that variety in bulk. Also, the testing time will not take months, just a few weeks and you are well informed.
Grow Light Needed
You will find a lot of effective yet affordable lighting sources or options in the market. If you use a great 30 watt LED light for your light source, it would give you plenty of light to support your small indoor garden of microgreens.
Various studies have suggested that moderate light for microgreens is amazing or exceptional for their growth. You have to keep in mind that a sunny, south-facing window is an amazing place to keep your potting mediums in which microgreens are placed, to begin with. For the healthy growth of your microgreens, giving them sunlight for 4 to 8 hours is mandatory.
Watering Can Or Spray Bottle
This one seems a little controversial after reading so much on how to grow microgreens at home. Some people have encouraged using the spraying method by spritzing emerging seedlings of microgreens while some people highly discourage this and advise using a watering can to water microgreens. Different methods of watering have worked differently for gardeners who grow microgreens. Testing and finding out which one suits your little greens is best if you wish to grow them well.
Notebook And Labelling Materials
Although it is not very crucial to start noting down things and maintain a notebook when you are learning how to grow microgreens at home or you have just begun to do so but the advantages of recording everything are vast. It will help you know the process of germination and help you understand what has worked better for your microgreens. For long-term endeavors, this is great.
After understanding all these aspects in detail, I am sure you have understood by now what is needed in growing microgreens, let me take you to a step-by-step guide that gives all the information on how to grow microgreens at home easily.
How To Grow Microgreens At Home

Once you are ready with all the supplies you need to learn how to grow microgreens at home and read everything in detail given above, getting started with how to grow microgreens at home would not be a difficult task for you. Just follow these steps and you will be successful in growing your microgreens at home.
Step 1: Secure A Location
Clear the area where you need to grow your microgreens properly, also just make sure that the surface you are about to use is protected from overspray from misting and overflow from any drain holes present.
Step 2: Prepare Growing Trays
If you have some unused containers or any containers that you previously used make sure you are washing all the trays to make them disinfected and dried. Fill these trays up to 1 inch or near to that with the moist growing medium you are about to use. Make the soil you have leveled by dragging or using a piece of cardboard across all the surfaces of the soil.
Step 3: Prepare And Sow The Seeds
You should know which seeds benefit after soaking. As already mentioned earlier, seeds that are larger or have a hard hull are to be soaked before sowing, You should soak them overnight. You may even soak them few hours before sowing if you forgot to keep them overnight or you are in a hurry. Spread all the seeds evenly, over the full surface. After sowing, sprinkle a little bit of growing medium on them.
Step 4: Press The Seeds Inside Soil
While you are learning for the first time about how to grow microgreens at home, you should know that pressing these seeds inside the soil is a good step, to begin with. It helps in establishing an amazing connection between soil and seeds. This in turn allows the seeds to absorb a lot of moisture from the soil and further encourages growth and germination which is great.
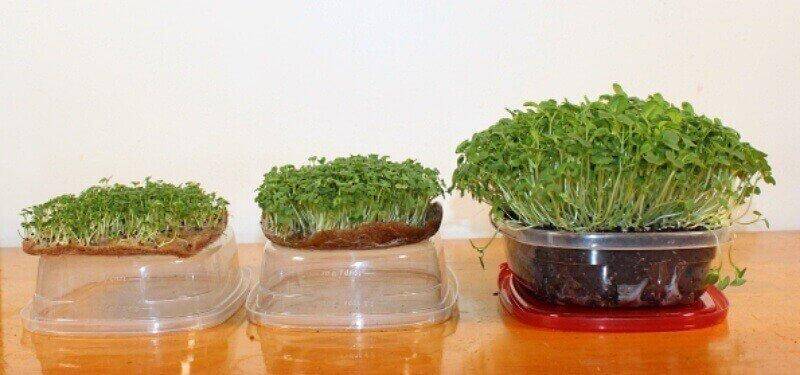
If you have decided to use trays having similar dimensions, you can possibly stack them over one another for applying a uniform pressure across the entire surface of the soil.
Step 5: Cover It And wait
If your tray has inbuilt moisture domes, you should cover them during this phase or point. If you have stackable trays then you can stack them for creating a moisture-dome effect. There are many seeds of microgreens that do not need any light to carry out germination, all they require is moisture content so if you stack them, it would not be an issue.
Some people who grow microgreens at home usually cover them using plastic bags or sometimes plastic wraps to enhance the process of germination in the starting.
Step 6: Water Requirements
If you have kept your trays or chosen a secure area near the window seals or in the open air, you need to make sure the pot is misted at least once an entire day using watering cans or spray bottles. remember that it is important to keep the seeds you have sown moist in nature. Moist and wet are entirely different, do not wet them. Use this till the time they germinate.
Once you have seen that the seeds have sprouted, you need to spray once or twice a day. it is highly recommended to spray.
Step 7: Harvest And Have Fun!
Once you have learned how to grow microgreens at home and your microgreens have grown few inches long, or developed some true leaves, they are completely ready to be harvested. Bring very sharp scissors to cut them, By cutting them we mean cut their step that is present above the soil line.
If you feel rinsing them is important after seeing the condition, make sure you rinse them gently and dry them using a paper towel or in a salad spinner.
Some Tips On How To Grow Microgreens At Home That You Should Know

The most evident and common issue faced by all the people that learn how to grow microgreens at home is the growth of unwanted fungus or bugs. When you spray water excessively on your microgreens or on the growing surface, it can lead to the growth of unwanted molds. These molds are popularly known for ruining crops. Due to this harmful procedure going on in between, many people who grow microgreens usually prefer the bottom watering method.
Using growing trays having certain drainage holes will let excess water infiltrate up from any solid trays can be useful.
Washing these microgreens usually shortens their lifeline which is already brief in nature. The best policy you can try is to remove or cut high above their soil line. This will help to prevent the requirements of rinsing them.
The most beautiful and satisfying thing about learning how to grow microgreens at home is that you never have to worry about unwanted chemicals that can affect your health. All you receive is good nutritional microgreens.
If you need to store your microgreens, you can do them like storing flowers. Place their cut ends into shallow containers filled with water and place the container in the fridge. If you store your microgreens in this manner, they will last up to a week or more.
Have fun with your gardening experience and keep experimenting to know all the techniques in a better way.
This was everything you needed to know about how to grow microgreens at home using easy steps after learning all the basic requirements and which seeds to grow to obtain the most amazing microgreens having high nutritional value. Always remember that it is far better to grow these inside your house rather than bringing their counterparts home because their nutritional value is very high as compared to larger vegetables.

