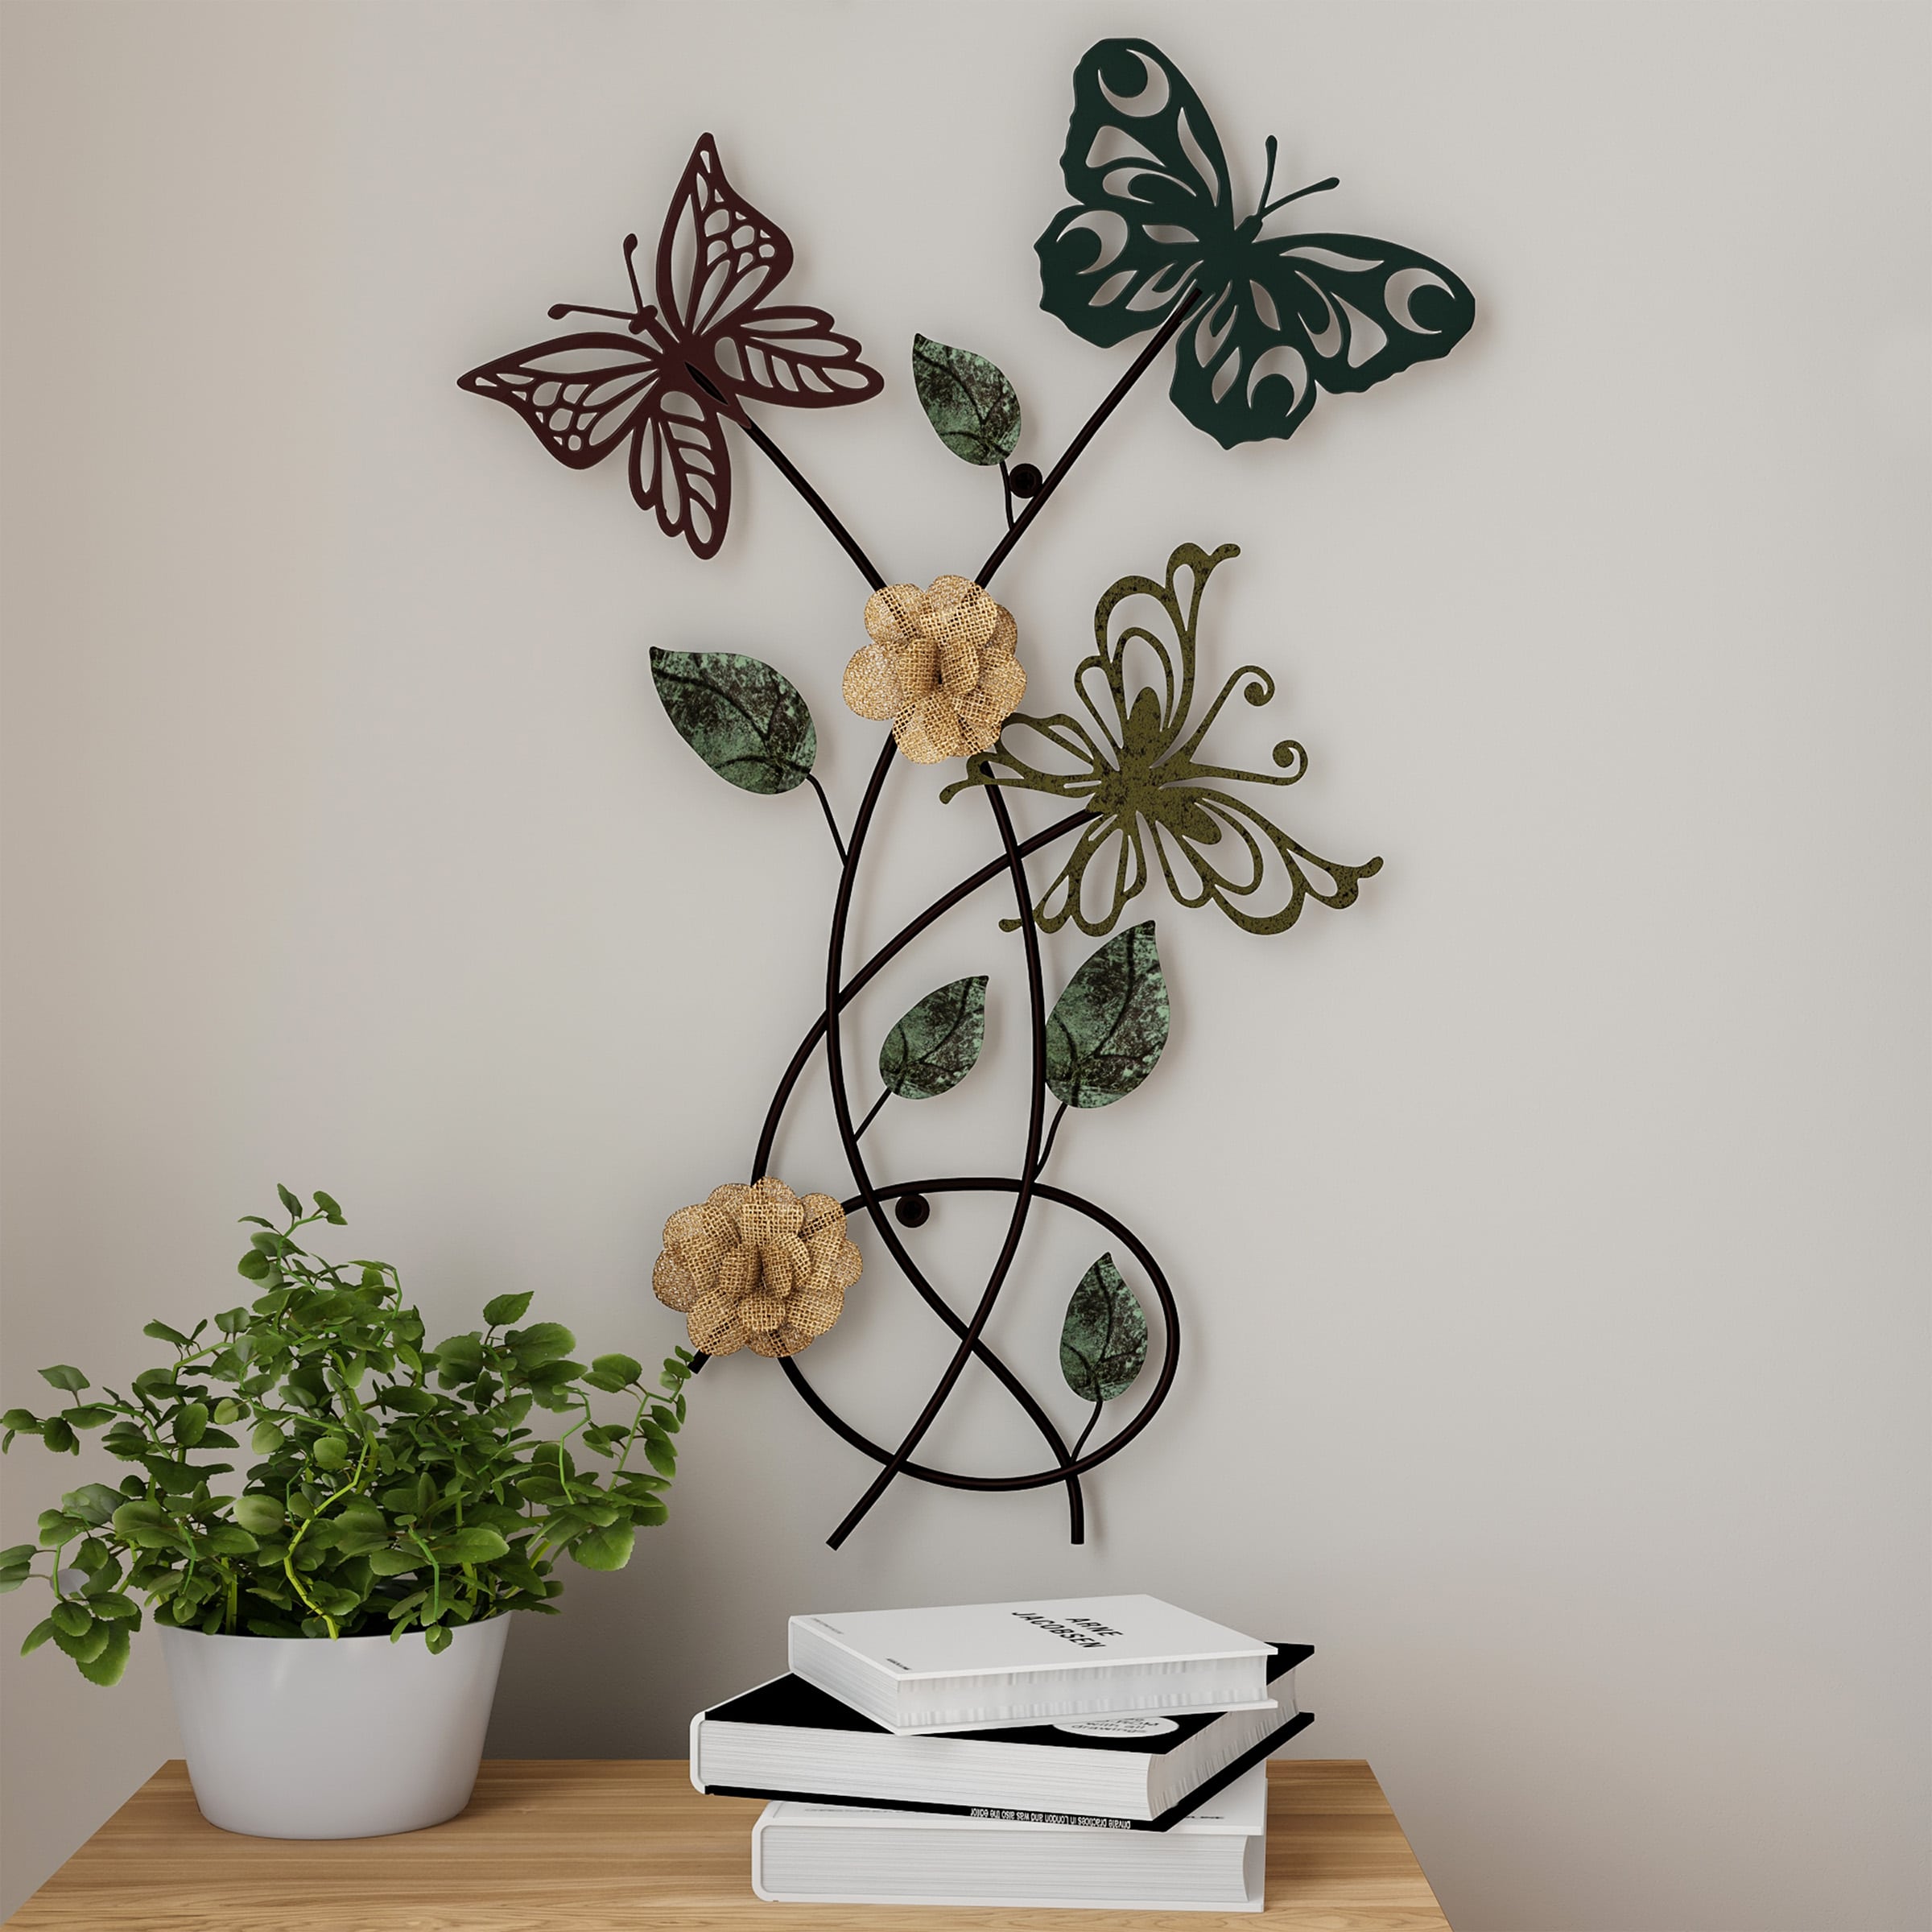
Gauge to mm is a measurement used for wires, usually. These measurements are also used for measuring metal sheets such as steel and iron items. Did you ever imagine a bit of science and math can get you started with making the most stunning wire metal crafts? If you are a DIY fan, you could as well make jewelry or any item you imagine with a bit of wire.
Why just metal? if you have an unused wire of any material, non-electric, lying around, there are a variety of arts and crafts you can do with them. Gauge is measured differently for various metals. Let’s talk about the gauge conversion for metal wires because that is what this post will be about.
If you are buying steel wire for crafts, look at the thickness which is mentioned in mm(millimeters). To get started with wire crafts, choose bendable aluminum or steel wires; 1 to 3 mm thickness is good enough for making DIY decorative metal wire crafts.
Gauge to MM Basics
The minimum measure in gauge is 0000, represented as 0/4. That’s the minimum starting point, and can go up to 60. If the diameter of the wire is large, the gauge measure will be in small numbers.
0000(0/4) gauge = 11.684 mm
Now, that’s just the basics. You don’t need to go any further with these details. Higher values are used by electricians who deal with insulated wires and are not required by craft makers.
With this knowledge, you know what parameters to look at buying steel or aluminum craft wires. If you want to use plastic wires or chords in any material(non-electric), use a basic gauge measuring tool available at most hardware stores.
It is circular and has holes on edge with measurements written. It is easy to put the wire through those holes to check the gauge value of the wire you use for a craft.
Gauge To MM – Metal Wire Craft
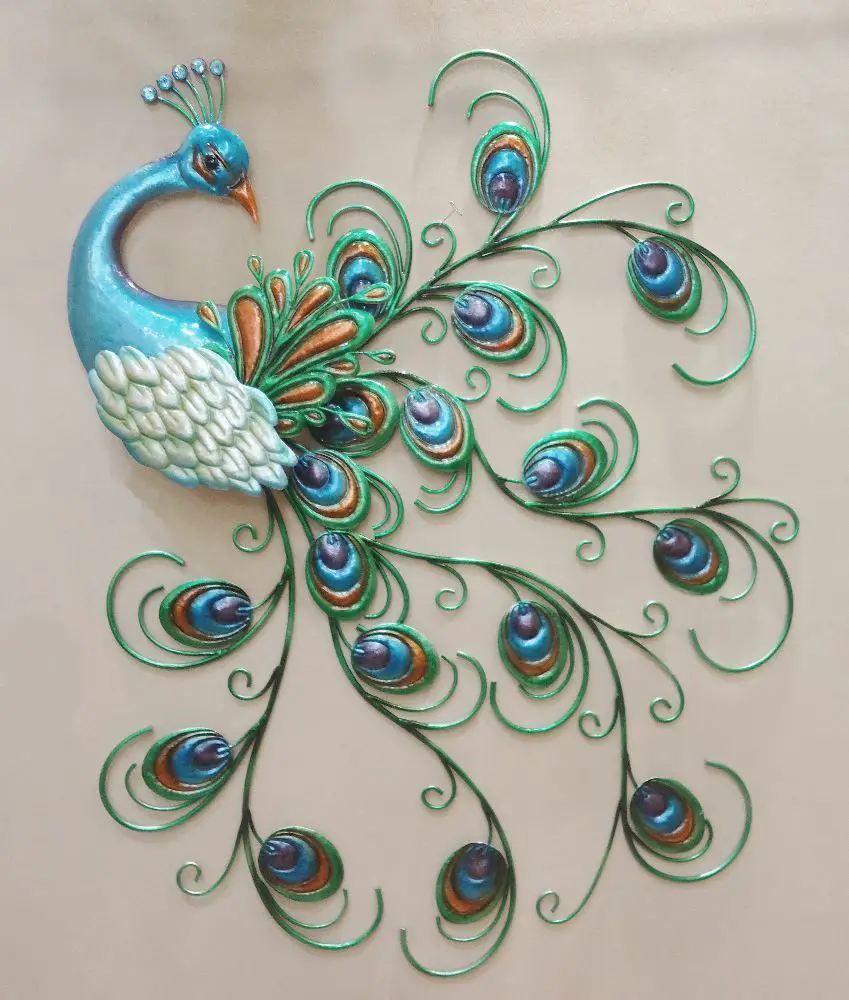
Wire craft is easy and needs imagination and a few tools. You could use any embellishments that suit the design and fit well with metal. Now that you know how to measure and what wire diameter you need get started with the metal crafts with these essential tools and supplies.
- 6 gauge metal wire which is very thin for jewelry making
- jewelry pliers
- wire cutters
- nosed pliers
- hammer and nails
- Snips for curving and cutting
- Hand gloves
There are numerous tools you could use depending on the design you choose to make. For basic techniques in jewelry or home décor items, these tools are good enough. The metal wire is available in different colors and diameters. For making jewelry, use a thin wire as it is easy to bend and manipulate. If you are creating home décor crafts, use a thick bendable wire.
Gauge To MM – Wire Craft Hearts
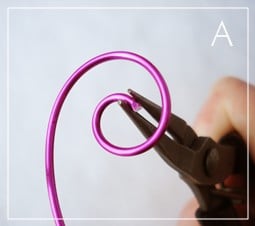
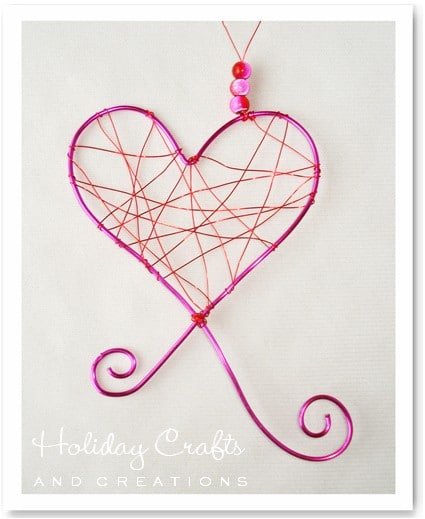
Choose a wire of 16-26 gauge that is bendable. You can choose aluminum, steel, or crafting metal wire available. Use snips or needle pliers depending on the diameter of the wire you choose. Needle pliers are suitable for thin wires to bend in shapes of your choice.
- Choose two wires, one thick and the other thin, in different colors
- You can choose any other decorative wire of your choice
- Cut the length to the desired size
- Bend the wire in a heart shape using the needle plier
- Take another wire which is thinner than the wire used for making the heart shape
- Wrap it around the heart shape in the design of your choice
- Add embellishments, beads, or any décor items like threads, laces, etc. around the thin wire when you are done wrapping
- Use a thread loop for hanging the wire heart décor to the wall
This is a basic tutorial to get started with wire craft. When you get the hang of using these tools, create metal crafts in any shape. For instance, stars, the moon, and any shape are possible with bendable wire and basic pliers. You do not need other tools like hammers, snips, etc, for basic designs that only need twisting and wrapping.
Using a thin wire, make jewelry like earrings, necklaces, bracelets using the exact mechanism. You have to measure the wire, use closures if you are making necklaces or earrings. Use the jewelry-making kit to make metal wire jewelry with this basic technique.
Gauge To MM – Wire Craft Decorative Hangers
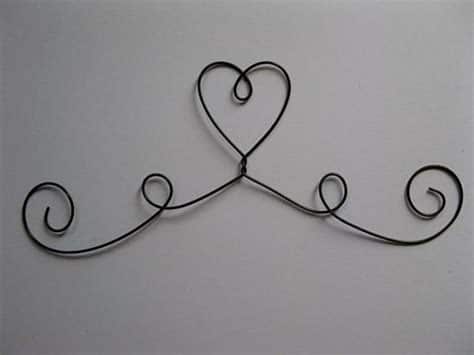
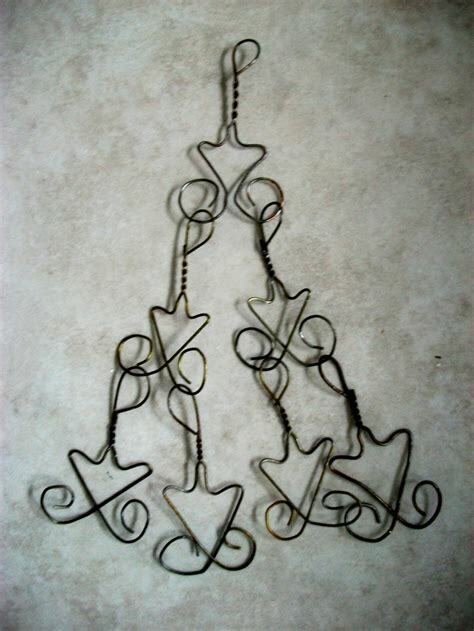
Vintage love? You could take that home with wire craft and get some swirly and vintage motifs on the hangers with basic supplies. If you already have a metal hanger, you can wrap the wire in vintage designs around this hanger and create beautiful hanger designs. Use spray paint if you want to beautify the existing design.
- Choose aluminum, faux iron, steel, or bendable metal wire of your choice.
- Cut it to the desired length and shape wires using pliers.
- Nail it to the wall or create loops at the top to hang them in your wardrobe.
- Add decorative threads, macramé, beads, etc. to embellish them as per your taste
Now that you have perfected the basic techniques let’s advance to intricate designs to make elaborate metal wire crafts, You need time, patience, and perfection to carve these designs using metal wires. Finally, let’s do some basic wall décor with decorative twists, wraps, and add-ons.
Gauge To MM – Wire Craft Wreath

A wreath can be made from various materials. You can choose the barbed wire, aluminum, faux iron, steel, or any bendable metal wire of thickness that can hold embellishments. Choose a thicker wire for metal crafting, no matter what add-ons you use. The 14-inch chicken wire is the most commonly used wire type for metal crafts.
- Cut two wires of the desired length.
- Twist them together and wrap them with a wire at closures.
- Repeat it for as many layers of wreath you want to create.
- Hold the layers with a thinner wrap of wire.
- Add embellishments such as ribbons, fabrics, beads, etc.
- Wrap them together to create a patters.
- Use a glue gun to stick decorative embellishments to the wrapped fabrics or ribbons.
- Create a look to hang it to the door.
Gauge To MM – Wire Craft Lampshade
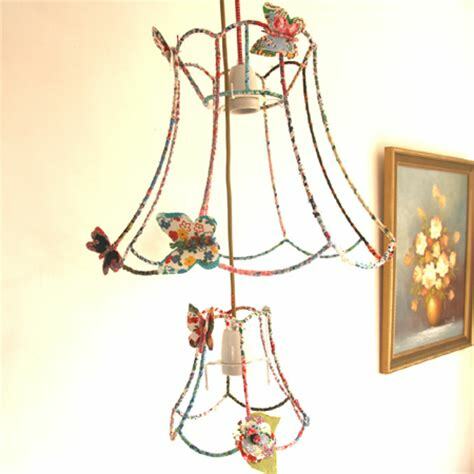
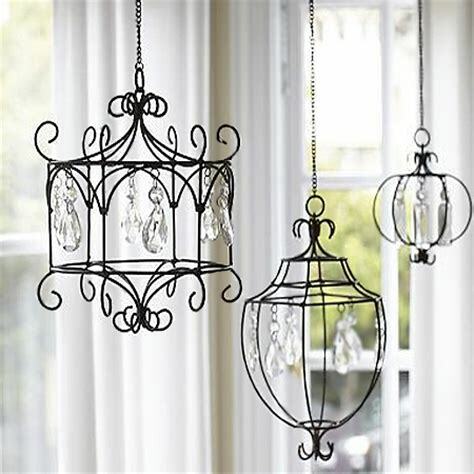
Choose a design for the lampshade. Then, draw the design on paper. It gives you an idea of the type of metal wire you can use for the design of your choice. For a simple lampshade, use a bendable metal wire as thick as a hanger. Use essential tools for twisting and cutting to get started. You could also choose paint, décor materials such as ribbons, laces, etc.
- Create the base shape by cutting four wires for rectangular or circular shape binding them with a wrapping wire.
- Measure the distance between the sides and cut wires with 2 inches extra for wrapping
- This creates a mesh base that you can wrap on the sides with wires.
- The base is ready. Ensure there is enough room for the wire and connector of the bulb to go through. Don’t use small gaps when wrapping the bottom. Leave significant gaps so any connector can go through.
- Start wrapping the wire on the four corners of the base and choose a height of your choice.
- If you want it straight or angled, measure the dimensions, cut, and bend the wire accordingly.
- Work through all the sides with the same length and wrapping technique.
- Close the wires with smaller wrapped wires in the shape of your choice, so it completes the design.
- You could combine the design with wooden frames by drilling holes in them and passing the wire to create a unique design.
- Decorate it with fabrics, papers, or embellishments of your choice.
- Add it to hanging bulbs or place them on the holder.
Gauge To MM – Wire Craft Vase
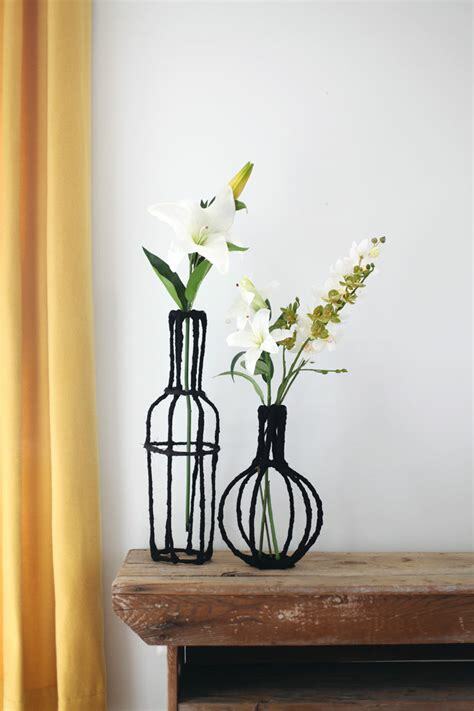
Use the wire to create a vase design in any shape of your choice. First, draw the shape of the vase design on a piece of paper before getting started. Then, analyze the dimensions and cut the wire according to the structure of the vase to the desired size.
- Create a base in a rectangular or circular shape.
- Use wires and wrap them throughout the circumference to create a base.
- Wrap wires of length you choose and bend them as per the shape of the bottle.
- Create another circular wrap in the mid part to complete the shape.
- Add some more wires for the top length from the central base, which is smaller in size than the bottom base.
- Add mores wires to create a thin tube-like structure.
- Close the design with a circular wrap.
- Choose any design by creating a bottom base and working through the length of the vase, and creating a top base as a final step.
- Place flowers and other décor items in this vase, and Viola!
Gauge To MM – Wire Craft Vintage Storage
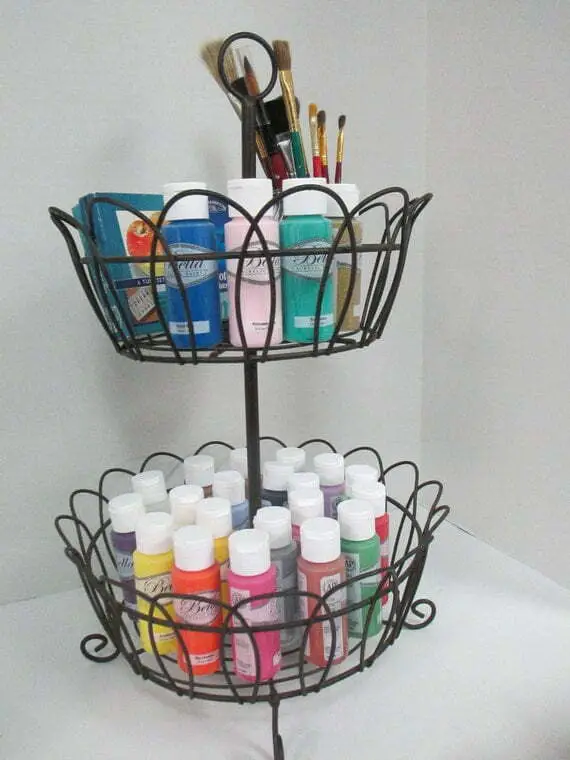
Storage is easy with the wire craft. You can create storage baskets for the kitchen or any space using chicken wire or crafting metal wire of your choice. It brings a vintage charm to the home décor.
- Choose a base material in plastic or wood in a circular or rectangular shape.
- Drill holes in corners for the wire to go through.
- Choose thicker wires the dimensions of hangers
- Sketch a design and use pliers to bend the wires as per the design
- Use a rod to create a two-tier basket.
- Plastic or wood and work through the décor and design elements in the size of your choice.
- Once the base is fixed, you can easily create curves, swirls, and other artsy designs with the wires.
- Add embellishments of your choice once you complete the basket.
- Use a rod of the desired height, make a perforation at the base of both the baskets to fix the rod in an upright position.
Gauge To MM – Wire Craft Coffee Table
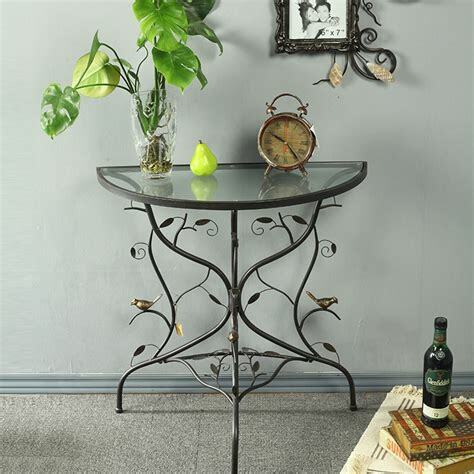
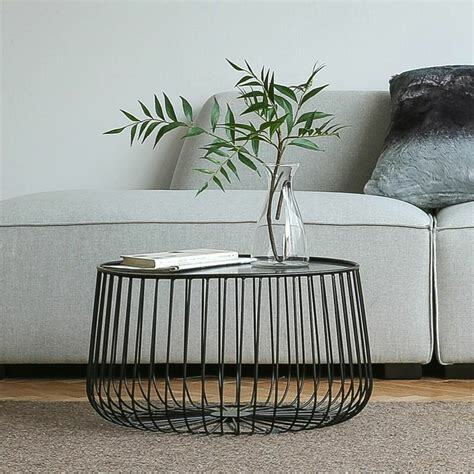
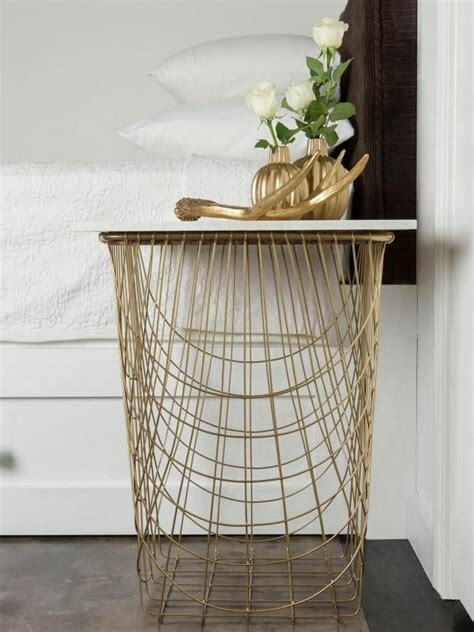
You can make an attractive low coffee table for the living room or patio. It looks best in the gardens, along with seating and topiaries, flower beds, pergolas. Now, that’s a vintage fairytale, and everybody loves it. But you can choose avant-garde or urban designs combined with a wooden or a glass top.
- Make a sketch of the design.
- Choose the dimensions such as circumference and height of the table.
- Choose whether the wires bend at the top, mid-area, or bottom depending on the design.
- Choose a wire the diameter of a hanger or something thicker than which is bendable.
- Cut the length of the wire cables as per the height of the table chosen.
- Leave a few inches extra for wrapping and bending.
- Attach the wires with thinner wrapping wires to create a pattern.
- Choose a top base in wooden, glass, or metallic.
- Place it on top.
- Building a base in this design is not necessary.
Coffee table designs are easy as long as you are making one in a smaller size. You don’t have to fix the base with nails or any other technique. Instead, you can place a removable base on top or fix it with nails, strong adhesive, or solder it.
Conclusion
Wire craft is easy when you know the basic measurements of gauge to mm, bendable craft wire you can use, tools, and techniques. With basic techniques of twist and wrap, you can create numerous stunning home décor items. You only need pliers, cutters, wire, and ideas.
Home décor is easy with wire craft. You can make embellishments from the scrap you have and create beautiful and decorative items. Small-sized furniture such as a coffee table or kitchen storage in the design of your choice is happiness you bring home with wire crafts.

