Dryer Vent Cleaning Using 5 Easy yet Effective Steps
You must be familiar with the fact that these dryer vents possess huge hazards related to fire. Dryer vent cleaning regularly is something you should be practicing. One of the most common reasons for a house fire is dirty dryer vents that are not occasionally cleaned.
Even if you see that clogged dryer ducting is not causing any damage at the moment, it will eventually waste your money, time, and energy.
When the dryer is joined with vents that contain dust, dirt, and lint will not work for the long term. How to know when dryer vent cleaning is necessary? If your dryer earlier polished off the wet loads only in one cycle or even less than that, but now you have seen that it is taking 2 cycles or sometimes even 3 to polish off the same amount, it is time to get it checked for dryer vent cleaning. You have to check the ductwork.
There are chances that the dryer is not at fault, and grimy venting is the issue that needs to be fixed.
Steps Involved In Dryer Vent Cleaning
1. Locate The Duct

In order to have a properly cleaned and regulated ventilation system first thing you need to know is where does the duct starts and where it ends for cleaning purposes. Most all the dryer units contain a short exhaust, you can estimate it to be nearly 4 inches in diameter.
Further, this exhaust is connected to a dedicated ductwork present inside through any pipe, mostly aluminum elbow. This ductwork is located inside of the wall. Hot air generated passes and travels across this pipe to emerge or pass out from an opening that is located outside of your house on any wall. You have to check this out. It may be there in the laundry room for many homes.
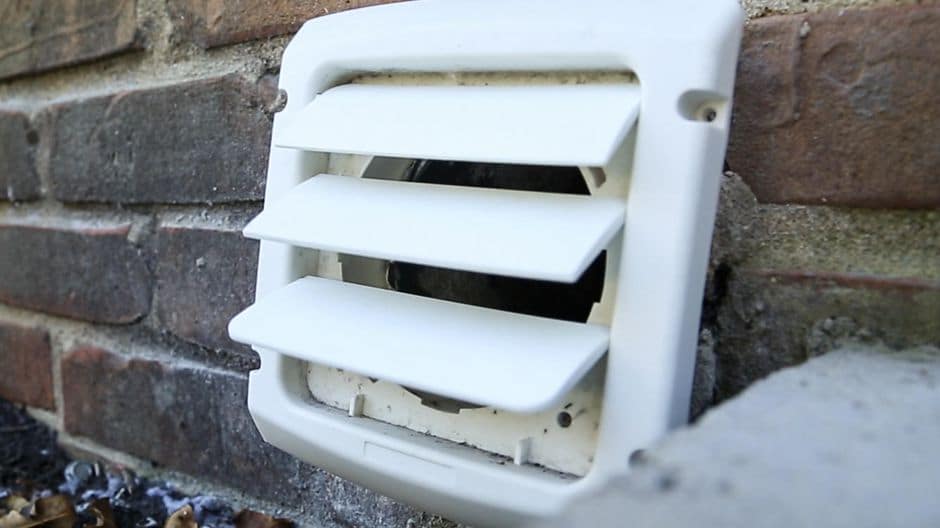
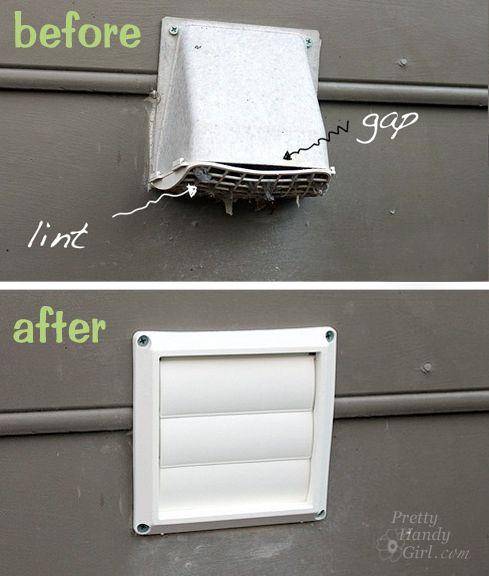
This exit is usually capped using a plastic cover that is louvered. When the hot air exits through this plastic cover it opens and lets the warm air release to outside. But it remains shut when an animal passes.
2. Disconnect The Dryer Safely

After figuring out the start points and endpoint of the duct in your house or outside, it is time to disunite the dryer. If the dryer you own is electrical type, this task is pretty simple for you. All you have to do is unplug the power cord of the machine from the outlet of the wall. The next step involves removing any clamps or metal tapes by keeping the vent pipe of the dryer in contact with or fixed with the exhaust.
Now, without putting much force, pull the vent pipe aside from the wall duct. In the case of electric dryers, you would be able to keep the appliances away having no problems. This is just done to open more space for you to carry out the work.
People who have dryers that generally run on natural gas have to show some more carefulness. Make sure you are not disturbing the gas line of the dryer too much if you are in need of repositioning the units. Similar to has ranges, the fuel hookup has a flexible steel hose. Keep in mind that this hose should remain attached tightly to play safe.
Leaking of gas is highly dangerous and may lead to serious hazards if not done correctly, if there is any chance that you feel unsure about leaking, instantly dial for a professional or expert to carry the work further.
3. Dryer Vent Cleaning

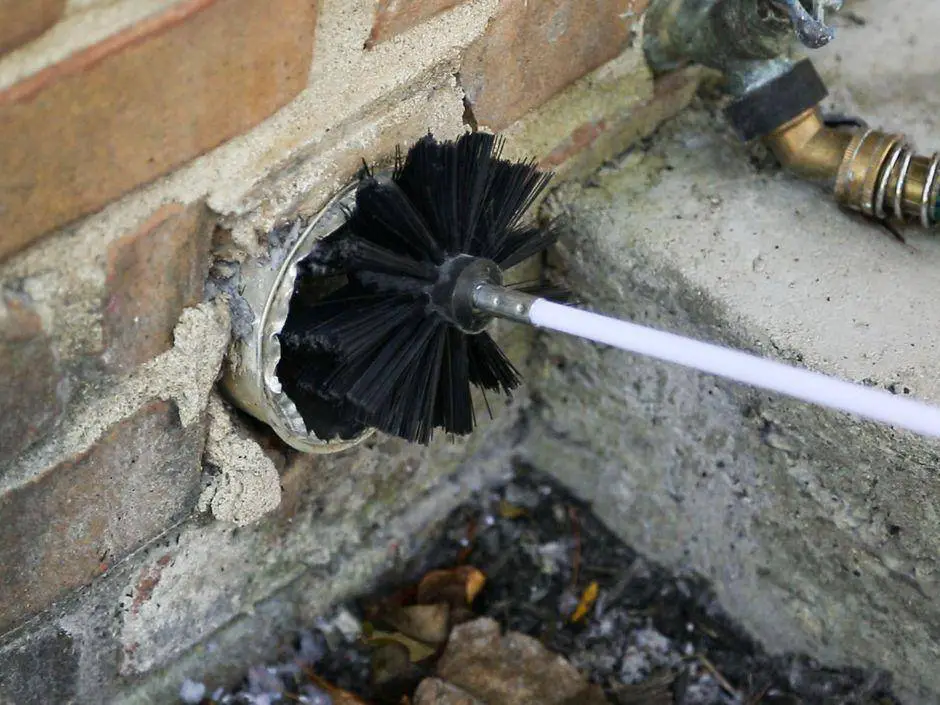
You can carry out the process of dryer vent cleaning easily by going outside where the exit is located and removing its duct cover or duct flap. Before you have decided to clean the dryer vent by yourself you need to have the specialized kit that helps in dryer vent cleaning. You can get it easily from the stores nearby or online. This kit usually has a lint brush along with flexible segments that are 2-foot-long in length.
After getting the kit, join all the parts to form a 12 feet rod for cleaning the pipe. A brush is also available to attach on the top of this rod, when you spin this brush, you will be able to thoroughly clean the pipe with good speed.
Insert this brush side into the duct, it will clear the debris present inside.
4. Reconnect Everything After Dryer Vent Cleaning

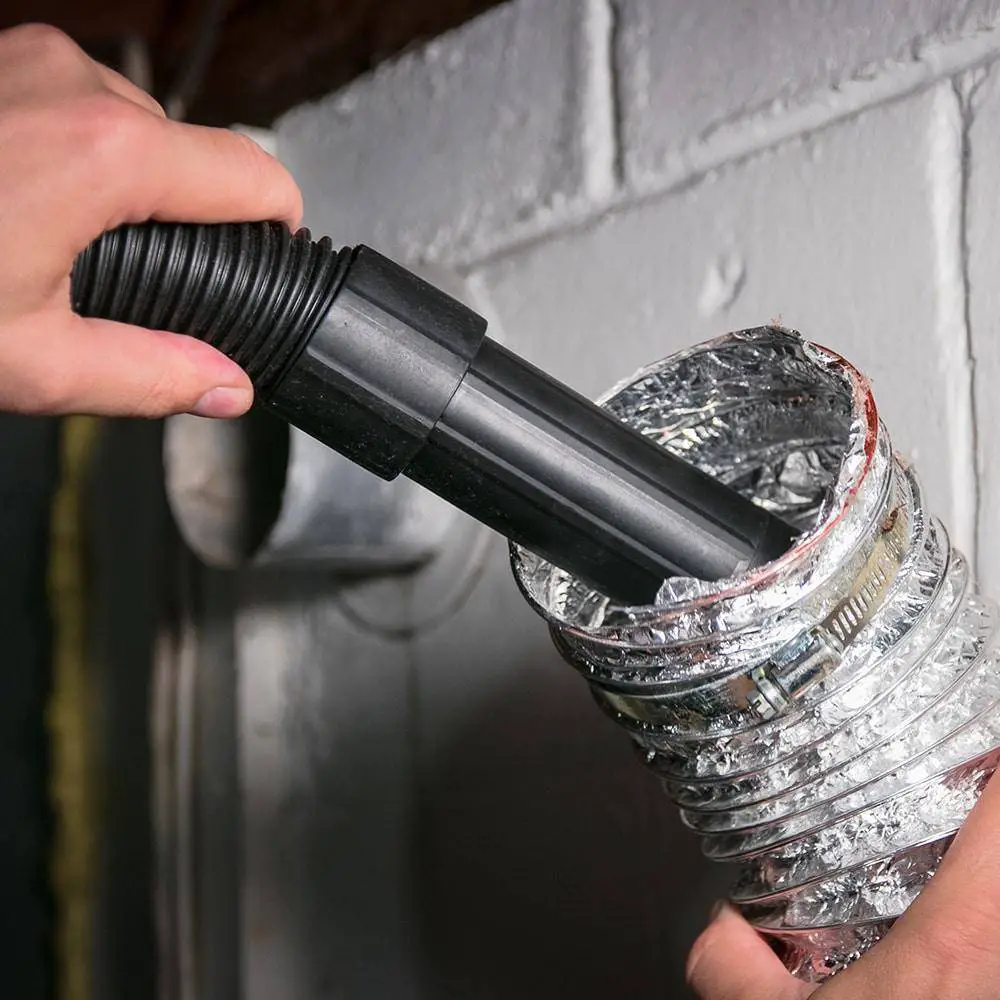
You can expect a good amount of piled up lint and debris after cleaning coming outside. It is very common. You can dispose of this in the bins using your vacuumed or using just a simple broom along with a dustpan and you are good to go.
After everything is done and tidy, place all the parts in the place they were connected earlier except for one thing. If the dryer you own had a soft foil-style vent that was linked to the duct of the wall, you may not place it back and get rid of this. Such hoses are known to risk fires in the house. You can replace it using aluminum elbows which are 90 degrees because these are highly durable and known to give the best airflow.
5. Complete Your Trail After Dryer Vent Cleaning

Dryer vent cleaning is undoubtedly sweaty, messy, and tiring to complete for any person if you feel you are too tired, you are not the only one. Neglecting it for long is no good option to go for. After completing and cleaning everything all you have to go to do is trail run. The appliances after cleaning through must have regained their original power to perform tasks. Remember that this chore is worth doing.
Now, was it that difficult? Of course NOT. Doing everything that reduces the risk of getting harm is important to accomplish. Follow these steps and carry out your dryer vent cleaning most effectively and efficiently with a smile. If you think you have made any mistake or cannot complete the procedure all alone, you can always ask for help from professionals as they are just a phone call away.
This was all about cleaning your dryer vent, want to gain information on the usage of stamped concrete? Keep reading and applying.

