Table of Contents
How To Remove Stitches- All You Need To Know!
If you believe you can learn how to remove stitches at home and manage to implement it, here’s all you need to know.
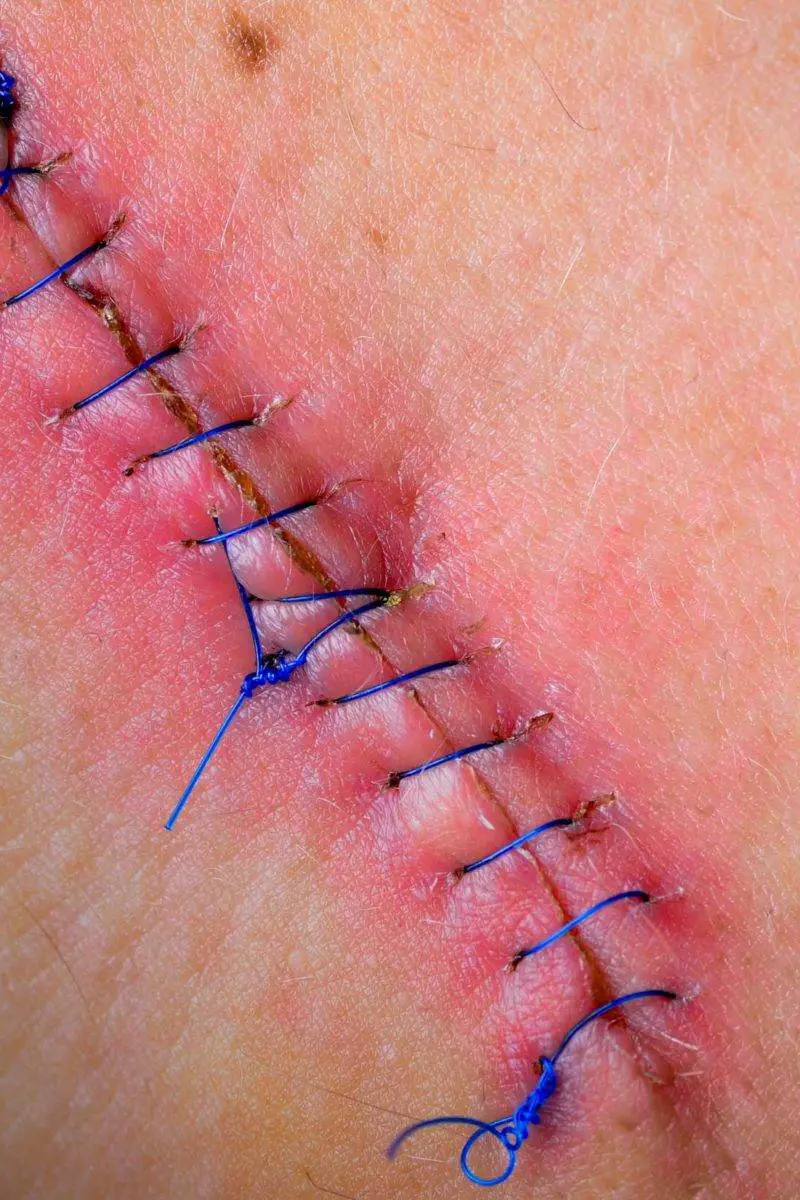
Stitches are done after performing a surgical operation by the doctor to close incisions or large wounds that cannot heal otherwise. the term “stitches” implies a medical procedure used to complete the damages using sutures. Sutures are tools used to close wounds and incisions.
Although stitches are pretty standard, they still need medical attention to avoid being infected. Removing switches on your own comes with a lot of risks. Most doctors will advise you to revisit their office to get the stitches removed. But some doctors allow their patients to remove stitches at home.
If you’d decide to learn how to remove stitches, it is essential to keep certain things in mind. You will know when to remove stitches, some warning signs that indicate something is not right with removal, and what has to be done if something goes wrong when you are removing stitches.
Is it safe to remove stitches at home?

In general, if you wish to learn how to remove stitches, know that clearing your stitches without prior knowledge and practice is not a good idea. When doctors or nurses remove your stitches, they always look for signs of any infection, wound closure, and proper healing.
If you try to remove the stitches at home, the doctors will not conduct the final follow-ups needed. Still, if you wish to learn how to remove stitches, you must first discuss your plans with an expert. The doctors can provide some instructions and recommendations to remove the stitches without risk factors easily.
They will also present some tips on preventing infection or scars if the stitches get removed prematurely. If you sense that the wound or incisions are not yet appropriately healed, the doctor will have to restitch once again to finish the healing process of that wound.
Things to keep in mind
If your plan to learn how to remove stitches at home, you must keep some things in your mind before starting with removing stitches:
- Make sure it is the right time to remove stitches. If you attempt to remove the stitches too early or before the right time, they would reopen and lead to an infection, or you may develop deep scarring.
- Always confirm with your doctor how many days will take for your wound to heal or how much you should wait before getting rid of stitches. If the wind still appears red and swollen, it is not the right time. Visit your doctor as soon as possible in such a case.
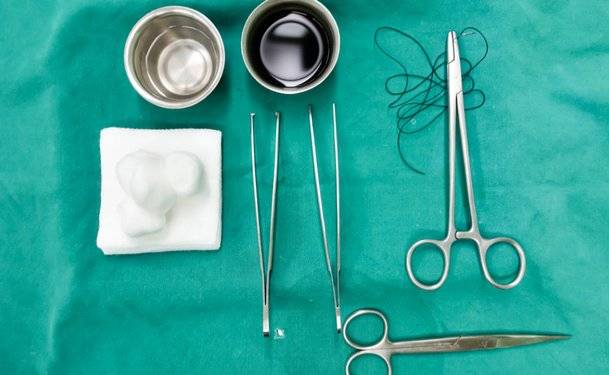
- Collect the required equipment and tools properly before getting started. Though you might have decided not to take the doctor’s appointment, you should still take full cautions to treat the procedure. You will require tweezers, shape scissors, cotton swabs, rubbing alcohol, and adhesive bandages to remove the stitches. If you do not have any of these, visit the nearest drugstore to get the products or wait for the appointment.
- Get proper guidelines or instructions. Always ask your doctors or healthcare providers for step-by-step guidelines on how to remove stitches with sufficient care. Follow the instructions so that you do not have to suffer from any risk or create additional issues with the healing f the wound.
- If you are in the slightest of doubts also, seek immediate help. If you have any issues removing the stitches or your sense something unusual, stop immediately at what you are doing and ask someone to take you to the nearest doctor for medical help.
Once you know these instructions to keep in mind, you can remove stitches at home with care.
How to remove stitches

Stitches are sutures that are either non-absorbable or absorbable. Absorbable stitches are implemented in case of internal stitching. The material used to make absorbable stitches is designed so that they will break down after healing and dissolve. In contrast, non-absorbable stitches are the ones that are used for outside injuries like wounds and incisions, and the stitches must remove them after healing. They will not dissolve.
Here’s how to remove non-absorbable stitches. Removing such sutures is simple, whether it is done inside a doctor’s office or at home. Keep reading the step by step guide on how to remove stitches to avoid pain:
1. Gather all the material needed to remove stitches
You will require sharp scissors for this procedure, and surgical scissors are most reliable for a safe method. You can also use nail clippers or nail trimmers. Collect materials like tweezers, cotton swabs rubbing alcohol, and adhesive strips or bandages. You will also receive an antibiotic ointment in hand while removing stitches.
2. Sterilize all the materials
To sterilize the ingredients, you will have to bring a vessel of water to a rapid boil. Try using a pot. Drop all the metal tools you have and let them sit inside the boiled water for a few minutes. Remove the tools and, using a clean paper towel, dry them and wipe them first. Pour a few drops of rubbing alcohol on a cotton swab ad then wipe done the tools.
3. Wash and sterilize the stitches site
Use hot water with a few drops of soap to wash the place of stitches. Dry it using a clean paper towel. Pour rubbing alcohol directly on a cotton swab and gently wipe down the entire area.
4. Find a good spot to start
Sit in any area of your house that is quite open where you can see the stitches one by one. If the stitches are on such part of your body that you can not reach, ask someone to help you with the procedure. You may guide them simply on how to remove stitches or visit a doctor.
5. Snip and slip the sutures
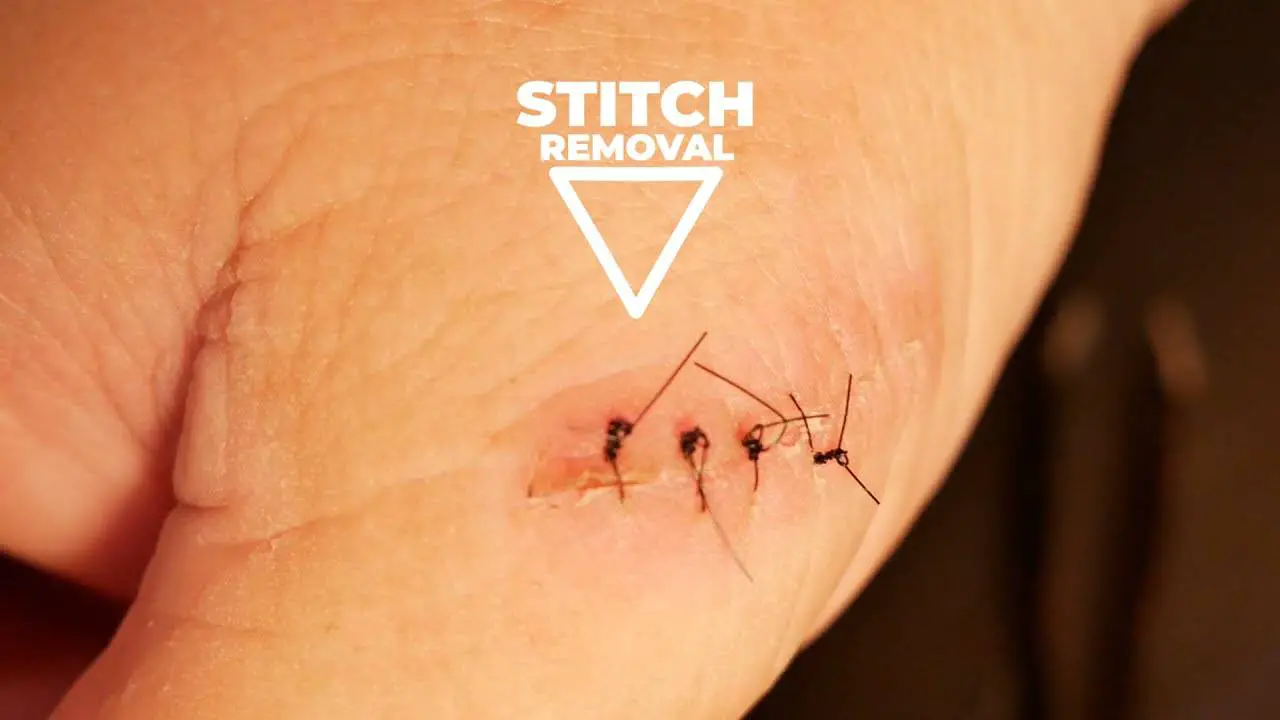
Using the tweezers, gently pull up on each knot of stitches. Slip the clippers or scissors on other tools you are using into the loop, and gentle snip the stitch. Tug n each thread gently until the stitches slip through the skin and come out. You might sense slight pressure going so, but removing the stitches is not very painful when you do it properly. Make sure you do not pull the knot through the skin. It can be painful, and it will start bleeding.
6. Stop right there if bleeding starts
While removing the stitches, if you start bleeding, stop right there and do not try to remove the subsequent knots too. If the wound opens after the stitch is removed, make sure you stop and apply an excellent adhesive bandage until under expert supervision. Call the doctor’s office or ask someone to take you there. If the clinic is not near, you can ask the doctors for directions on what to do further.
7. Clean the area
Once you remove the stitches, you have to clean the wound thoroughly using a cotton ball soaked in alcohol. If you are carrying an antibiotic intent on revving the stitches, you can apply it to the spot for better healing.
8. Protect your wound
You might have to apply some adhesive strips across your wound or incision to prevent the damage from opening again, as this would need stitches again. You may leave the adhesives to stay on the spot and wait for them to fall after a few weeks naturally. It will take two weeks approximately. Soaking the bonds in water before removing them is a good deal for easy and painless removal.
During the healing time, the skin surrounding the incision is fragile, but the skin will regain its strength and characteristics over time. Protect it by covering it using a bandage for as much as five days at least.
The wound may bleed, swell, or split open if you stretch it or it bumps. Avoid ding any activities that may result in the opening of the injury as this would create damage and need stitches once again.
This was how to remove stitches at home with someone’s help, or you can do it on your own if the wound is easily reachable. Knowing how to remove stitches and remove them is essential to learn, but learning what to do next and how to care for the wound after removal is also necessary.
What to do next

Make sure you keep the incision or wound cleaned and dry. Prevent from doing activities that would get it dirty. Do not disclose the wound to sunlight directly. The skin surrounding that incision is susceptible, especially when it is healing. It may and will burn more readily when exposed to sunlight compared to the rest of the skin. It is common, and you do not have to be concerned about this.
Some experts may recommend that you practice applying a good vitamin E lotion to speedy healing procedures and decrease the chances of scarring. Before you utilize this optional treatment, discuss it with your doctor. You might be allergic or sensitive to it, and try to avoid it. Or the doctor may have a different recommendation as per your wound.
If you catch fever or observe redness, pain, swelling, red streaks, or bleeding from the wound or incision before or after the stitches are removed at home or the office, ask your healthcare expert immediately what has to be done. You might develop an infection that requires immediate treatment to avoid complications.
If your wound reopens once you remove the stitches or sutures at home only, see the doctor as soon as possible. You might require additional stitches to assist the injury in closing again.

