Table of Contents
How To Use Thinning Shears- Know Everything In Detail.
Learning How to use thinning shears can help you immensely with your haircut, as it is not just the shape and length that decides how your haircut turns out. A good haircut is all about making your hair feel great, making hair strands easier to manage, highlighting your facial features, and catering to your lifestyle.
Hairstyles have plenty of factors to consider when imagining a complete picture of the hair strands. Thankfully, there are various tools to help us achieve the desired results. Thinning shears is one such tool that most hairstylists find extremely useful.
Different elements decide whether you add volume to your hair or thin it out. You can employ various techniques for thinning your hair to grant your hair a well-manicured glimpse. Fortunately, thinning your hair is a straightforward process that is quick and uncomplicated to learn.
Let’s see how to use thinning shears for the best haircut and hairstyle.
What are thinning shears?

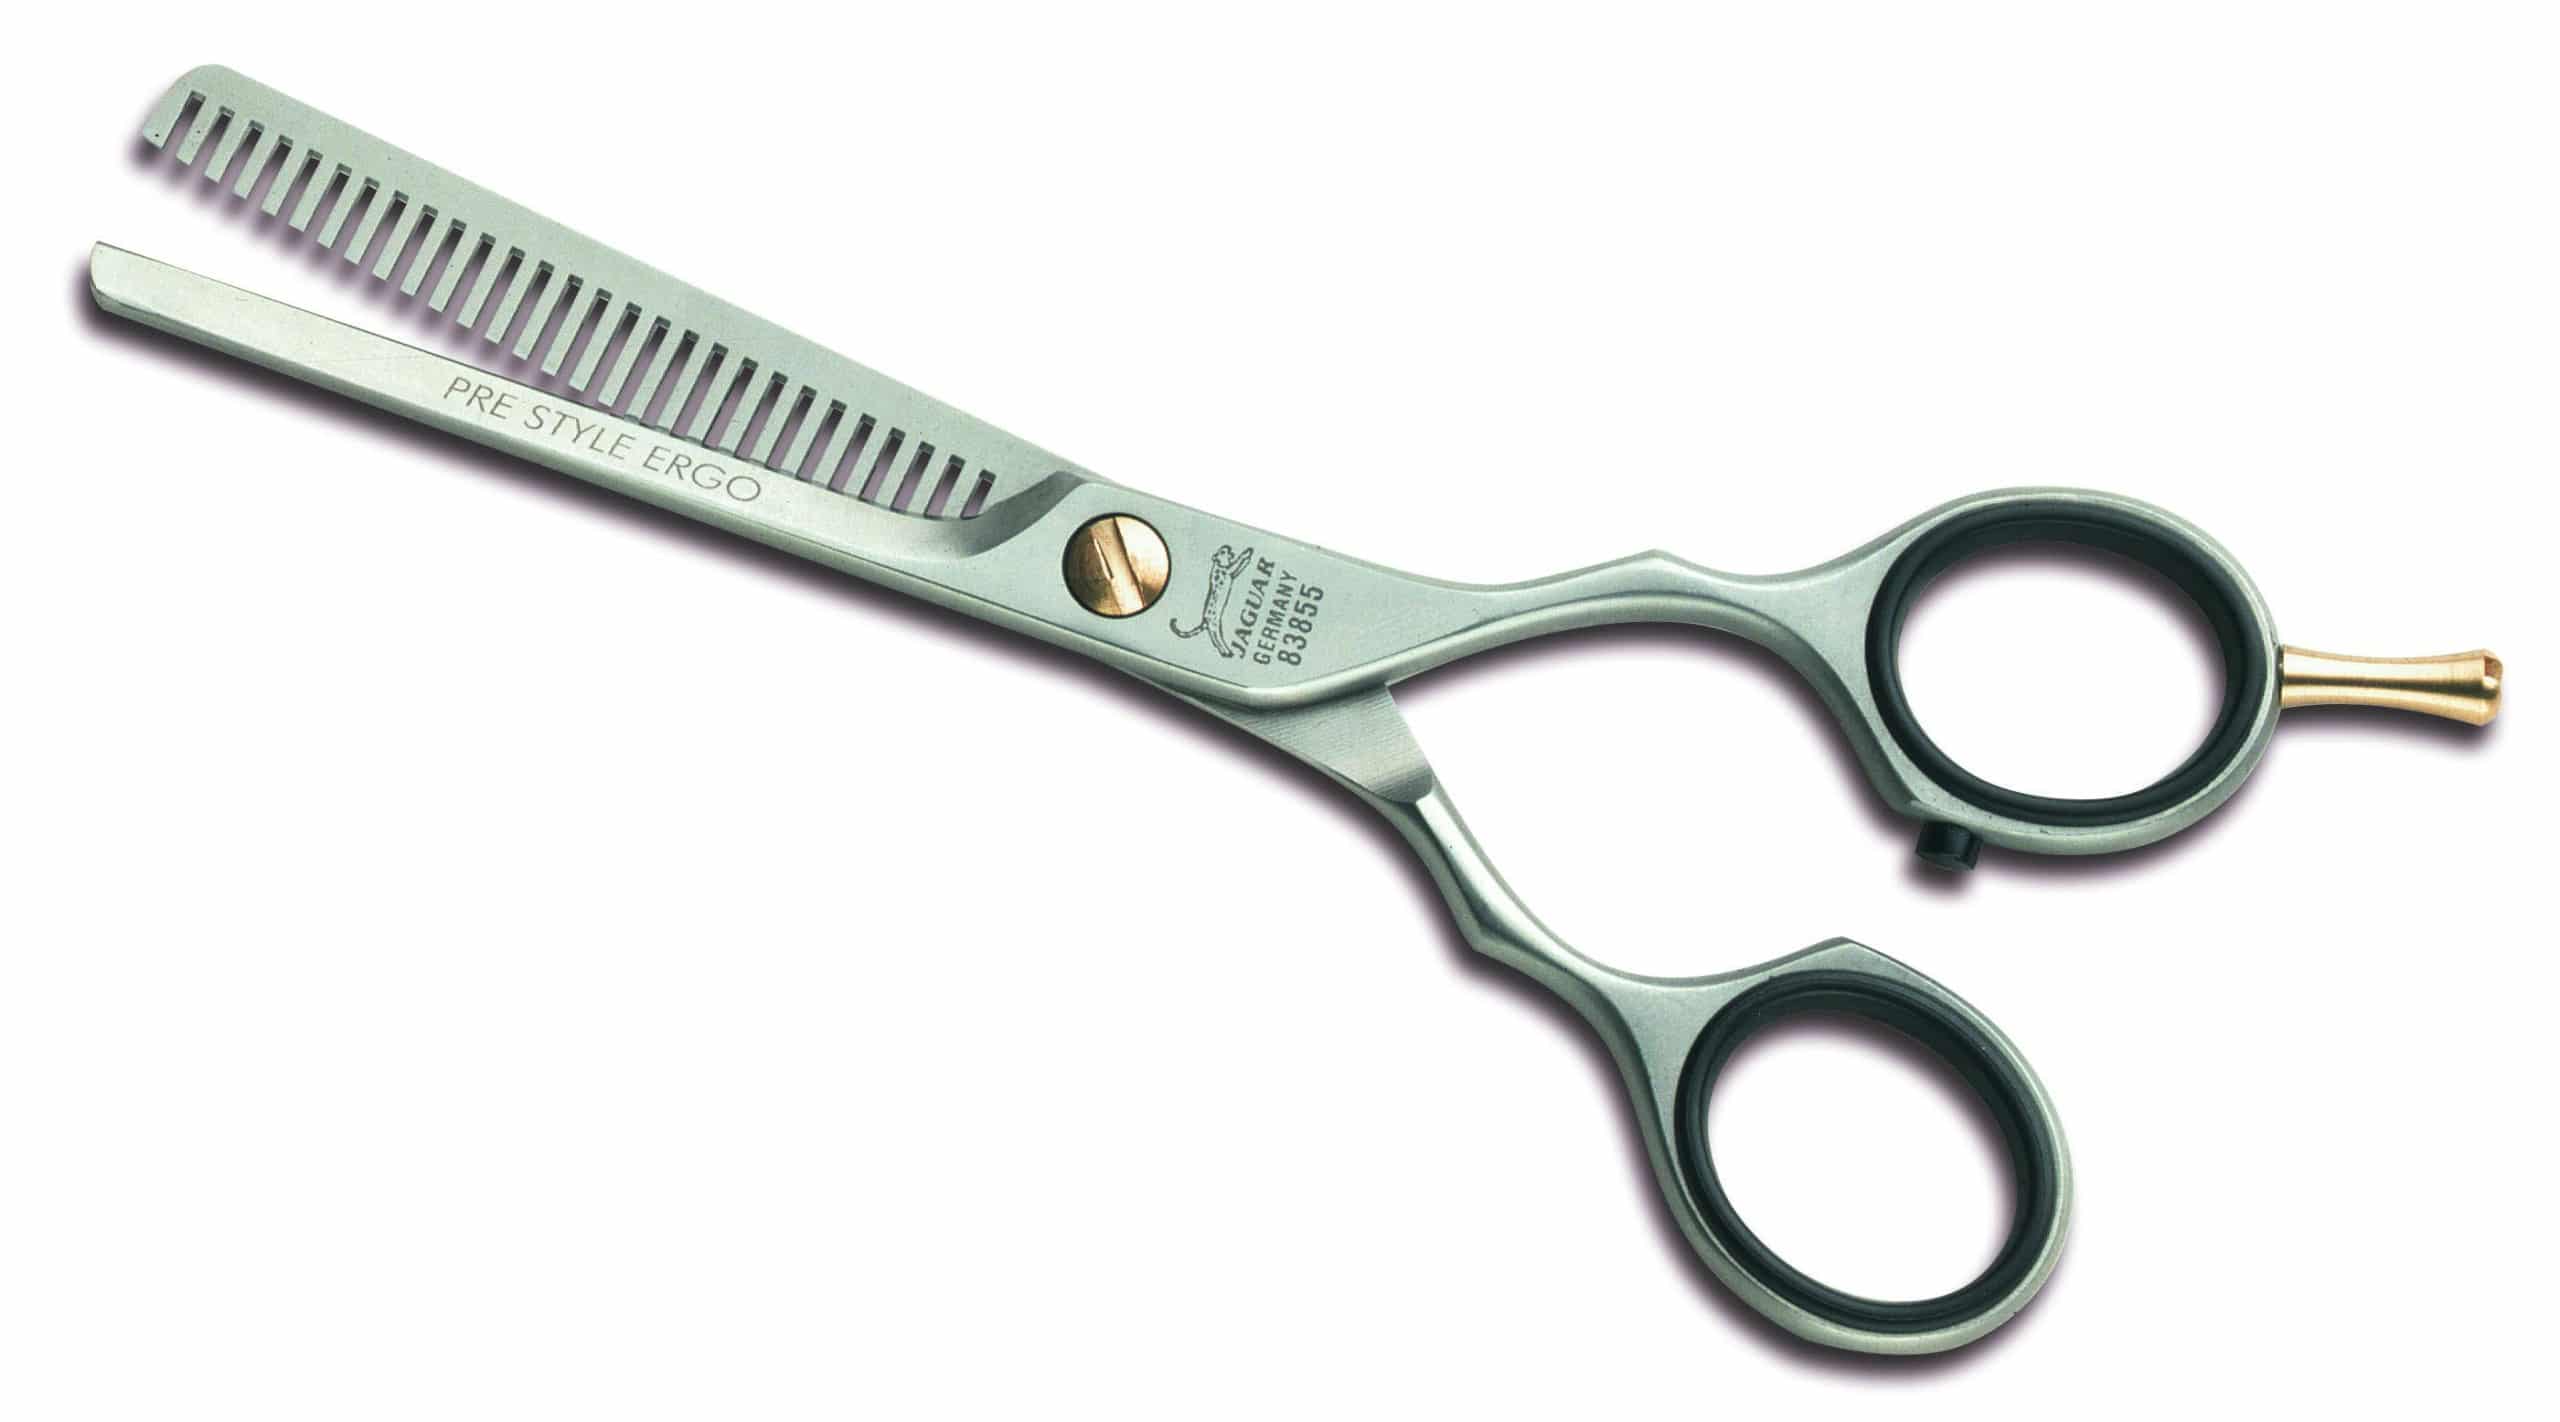
Thinning shears are scissors with two blades- one blade without teeth and one with teeth. These teeth are minor grooves over the blade that will quickly take your hair out in distinct sections to help reduce the excess weight, smoothen lines, and blend between segments.
Thinning your hair sections allows hair to remain close to the head, provide movement, and smoothen shapes. You can try thinning shears to eliminate bulk from your thick hair or to soften the ends of your new cut.
How to buy the right pair of thinning shears?
- Purchase a pair of texturizing and blending shears- Such shears are highly versatile and can cut approximately 40-70% of hair off using a few immediate cuts. You can utilize them to combine texture or intrinsically blend various levels of the hair. There are typically 25 teeth on this particular kind of shear.
- Add the new chunking shears to the collection of scissors- If you have particularly thick hair to trim, these are excellent. Regardless, they can be challenging to use and depart holes in your haircut, so only utilize them for highly thick hair. They will add big chunks at once, nearly 40-80%, and trim through denser hair than a regular pair of shears. These even work great when curly hair, which is difficult to cut with regular scissors. These thinning shears have approximately 7-15 teeth on them.
- Get one pair of finishing shears- They eliminate much less hair compared to the other two pairs of shears have. This is an excellent pair of shears to get back over the hair once you have created a pass with regular shears. They provide your hair with a smoother, lived-in look. Nevertheless, you will have to create more passes with such shears, as they take very little off in one go.
- Find shears that have adjustable screws- Most, if not all thinning shears, are made of stainless steel. However, shears with an adjustable screw can create all the difference in your hair. If you discover that the tension is off, then the shear screw permits you to adjust it.
How to use thinning shears
1. How to use thinning shears for texturizing the plumpy ends of your hair

Here’s how to use thinning shears when texturizing unmanageable hair ends.
Comb through the hair first- Make foolproof your newly washed hair and is primarily damp. Then, with the help of an excellent wooden comb, pass it through the hair several times before beginning. Drive your hand through the hair once you are done with combing. Look for any bulges or knots. Try and vibrate them to loosen a little bit, then pass your comb or brush through the hair again.
Grab a small segment of your hair- This segment of hair must be from the front of your forehead or face. Every section you usually take should be around an inch wide. Drag all the hair strands out, keeping them far from the body by lifting them, and carry the ends in between your fingers using one of your hands. You will need to maintain your hand approximately 2-3 inches out from the ends of the hair.
Use the other hand to keep the thinning shears- Use the shears to the outer segment of your hair and transversely cut the hair about an inch inward from the outermost tips. You can reverse the shears around and trim at the exact spot if you wish, but the shears should be facing the opposing direction.
Take one more section of hair with your hand- This must be directly behind the initial section of hair you just completed thinning out. Pull your hair outward and maintain the segment of hair in between the fingers. Using the thinning shears, cut through the segment of hair, beginning an inch away from the outer tips. Once again, you can flip the thinning shears around and trim your hair in the same spot for more thinning or shaping.
Keep repeating till you have reached all the way around- Make foolproof that you use the shears on all of your ends. To ensure you get all of them, you can accomplish some minor overlapping cuts. You can also hold a few hairs from a formerly thinned segment and combine them to the segment you are going to thin. This will ensure that you trim all hair ends to the exact length. Feel unrestricted to go back and trim again if you feel as if the sections are shapeless or still overly bulky, but be cautious not to cut too much.
As you progress from one section to a new section, lower the previous section of hair besides a small segment to guide the length of the next section cut.
Clean the ends off nicely- You can either use a towel or run through the ends using your hands. You need to ensure you loosen the hair and let the snipped hair fall to the ground. This will also be an excellent time to clean or rinse your hair and wash the snipped hair out.
2. How to use thinning shears for thinning the hair out

Here’s how to use thinning shears for thinning out your hair.
Dry the hair off- If you have stepped out of your shower just now or been outdoors on a rainy day, you must dry the hair off. You are using a towel, run through the hair. Likewise, you can use a blow dryer if the hair is still soaking wet. It would be best if you did this because thinning shears have a challenging time cutting through soaking wet hair, which will make a person’s head appear very bad as a consequence.
Comb through the hair until it becomes smooth- You can employ a brush if your hair is extremely thick, or use a simple comb if you have thin hair. Make 20-30 passes at least through the hair, based on the treatment of the hair and the texture. Once you are finished, run your hands across your hair to check if there are still any knots. Take a few additional passes with the comb/brush or your fingers if there are.
If you have curled hair, you may want to try straightening the hair. Otherwise, the thinning shears may irregularly cut your hair.
Separate the hair using large hair clips- Each segment must be approximately 3 inches, or 76 mm, broad. Just grab an assessed length of hair and grab it with one hand. You can secure the hair clip against your hair bundle or close to it, as long as it stays separated and contained. Based on the thickness of the hair, you might want to add more additional hair clips.
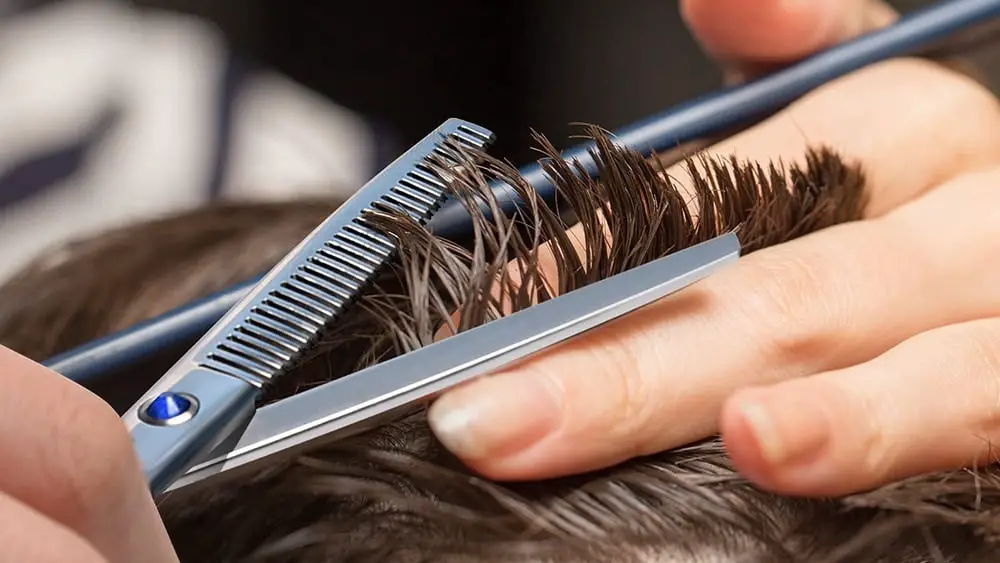
Take out one of the hair clips- The foremost one you take out or unclip must be in the front portion of the head. Comb via that segment of loose hair and beat it out some more. Then delicately drag the comb towards the edge of your hair, but not all the way reaching the end. Hold the hair high in the air, using the comb still adhered at the end.
Start to thin your hair- Almost halfway reaching down the strand, trim that segment of hair using the thinning shears. The ends of the scissors must be indicating upward towards the roof. Then brush out the hair. If it appears bulky, flip those scissors around and trim again at the same point using the tips of the scissors indicating downward to the floor. This will finish the thinning for this segment of your hair. You can then remove the shears and keep them on the nearby table.

Let the comb within the other hand loose- Go back across the sheared segment and comb through. This will remove the cut hair present and remove them out of the way. If a few hairs seem to be clung, run the fingers through it narrowly to loosen them. Otherwise, it would help if you waited till it was over to wash your hair under the shower.
Thin the hair out in sections- Every time you complete a section of your hair, let it drop with the rest of your hair that has been thinned out already using the shears. Make sure to do both a downward and upward cut for every section. It is more reasonable to follow a clockwise direction or counterclockwise. Do not do use the shears on random hair sections. Otherwise, it may end up appearing unnatural.
Comb through the hair one more time- Based on the thickness of the hair, you might want to go back around using the thinning shears and thin out more hair. This time you should do not cut at the exact spot. Instead, practice one more angular cut, comb the hair, and review it again.
Once you have the hang of operating a thinning shear, discover the one that works well for your requirements best and invest in a shear that is a bit more exclusive. Thinning shears are also great for mixing fine hair and sharp lines. Shears can soften the fringe if required. When investing slightly extra money, make sure to review that a guarantee card is contained to get combined protection for the tools.
This was all about- How to use thinning shears correctly for various purposes.


